
Ever wanted to bring the gentle beauty of a deer to life on your paper? Many folks find the idea of drawing animals a bit tricky, but with the right guidance, creating a lovely deer drawing is totally within reach, you know. Learning how to draw a great looking deer with easy drawing instructions and video tutorials can truly make a difference. It's a skill that anyone can pick up, honestly.
This article is here to show you just how simple it can be, that is that. We'll go through each step, making sure you feel confident and ready to make something special. By following the simple steps, you too can easily draw a perfect deer. It's really about taking it one bit at a time, and you'll see how it all comes together, pretty much.
Whether you are just starting out or want to polish your skills, this guide is for you. We aim to help you make a deer drawing that will truly impress, and maybe even teach the little ones too, so. Perfect for artists of all levels, this tutorial will help you create a majestic deer in no time, you know. Learning yourself and teaching the kids can be a very rewarding experience, too it's almost.
Table of Contents
- Getting Started with Your Deer Drawing
- The Foundation: Basic Shapes for Your Deer
- Building the Body: From Heart to Form
- Adding Character: Ears and Features
- Crafting the Legs and Hooves
- Bringing it to Life: Details and Shading
- Drawing a Deer for Kids and Beginners
- FAQs About Deer Drawing
- Your Next Steps in Wildlife Art
Getting Started with Your Deer Drawing
Gathering Your Tools for Deer Drawing
Before you begin your deer drawing adventure, it's good to have a few things ready, you know. Grab some paper, a pencil, and an eraser. A fresh piece of paper is always a nice start for any new project, really. In this article, we will begin with a new piece of paper and learn how to draw a deer in 9 instructive steps, which is pretty much how many drawing projects start, anyway.
Having a clear space to work helps a lot, too it's almost. This way, you can focus on the shapes and lines without distractions. Remember, drawing is about enjoying the process, so take your time. You don't need fancy tools to make a beautiful deer drawing, just some basic supplies and a willingness to try, basically.
The Foundation: Basic Shapes for Your Deer
Starting with Simple Forms for Your Deer Drawing
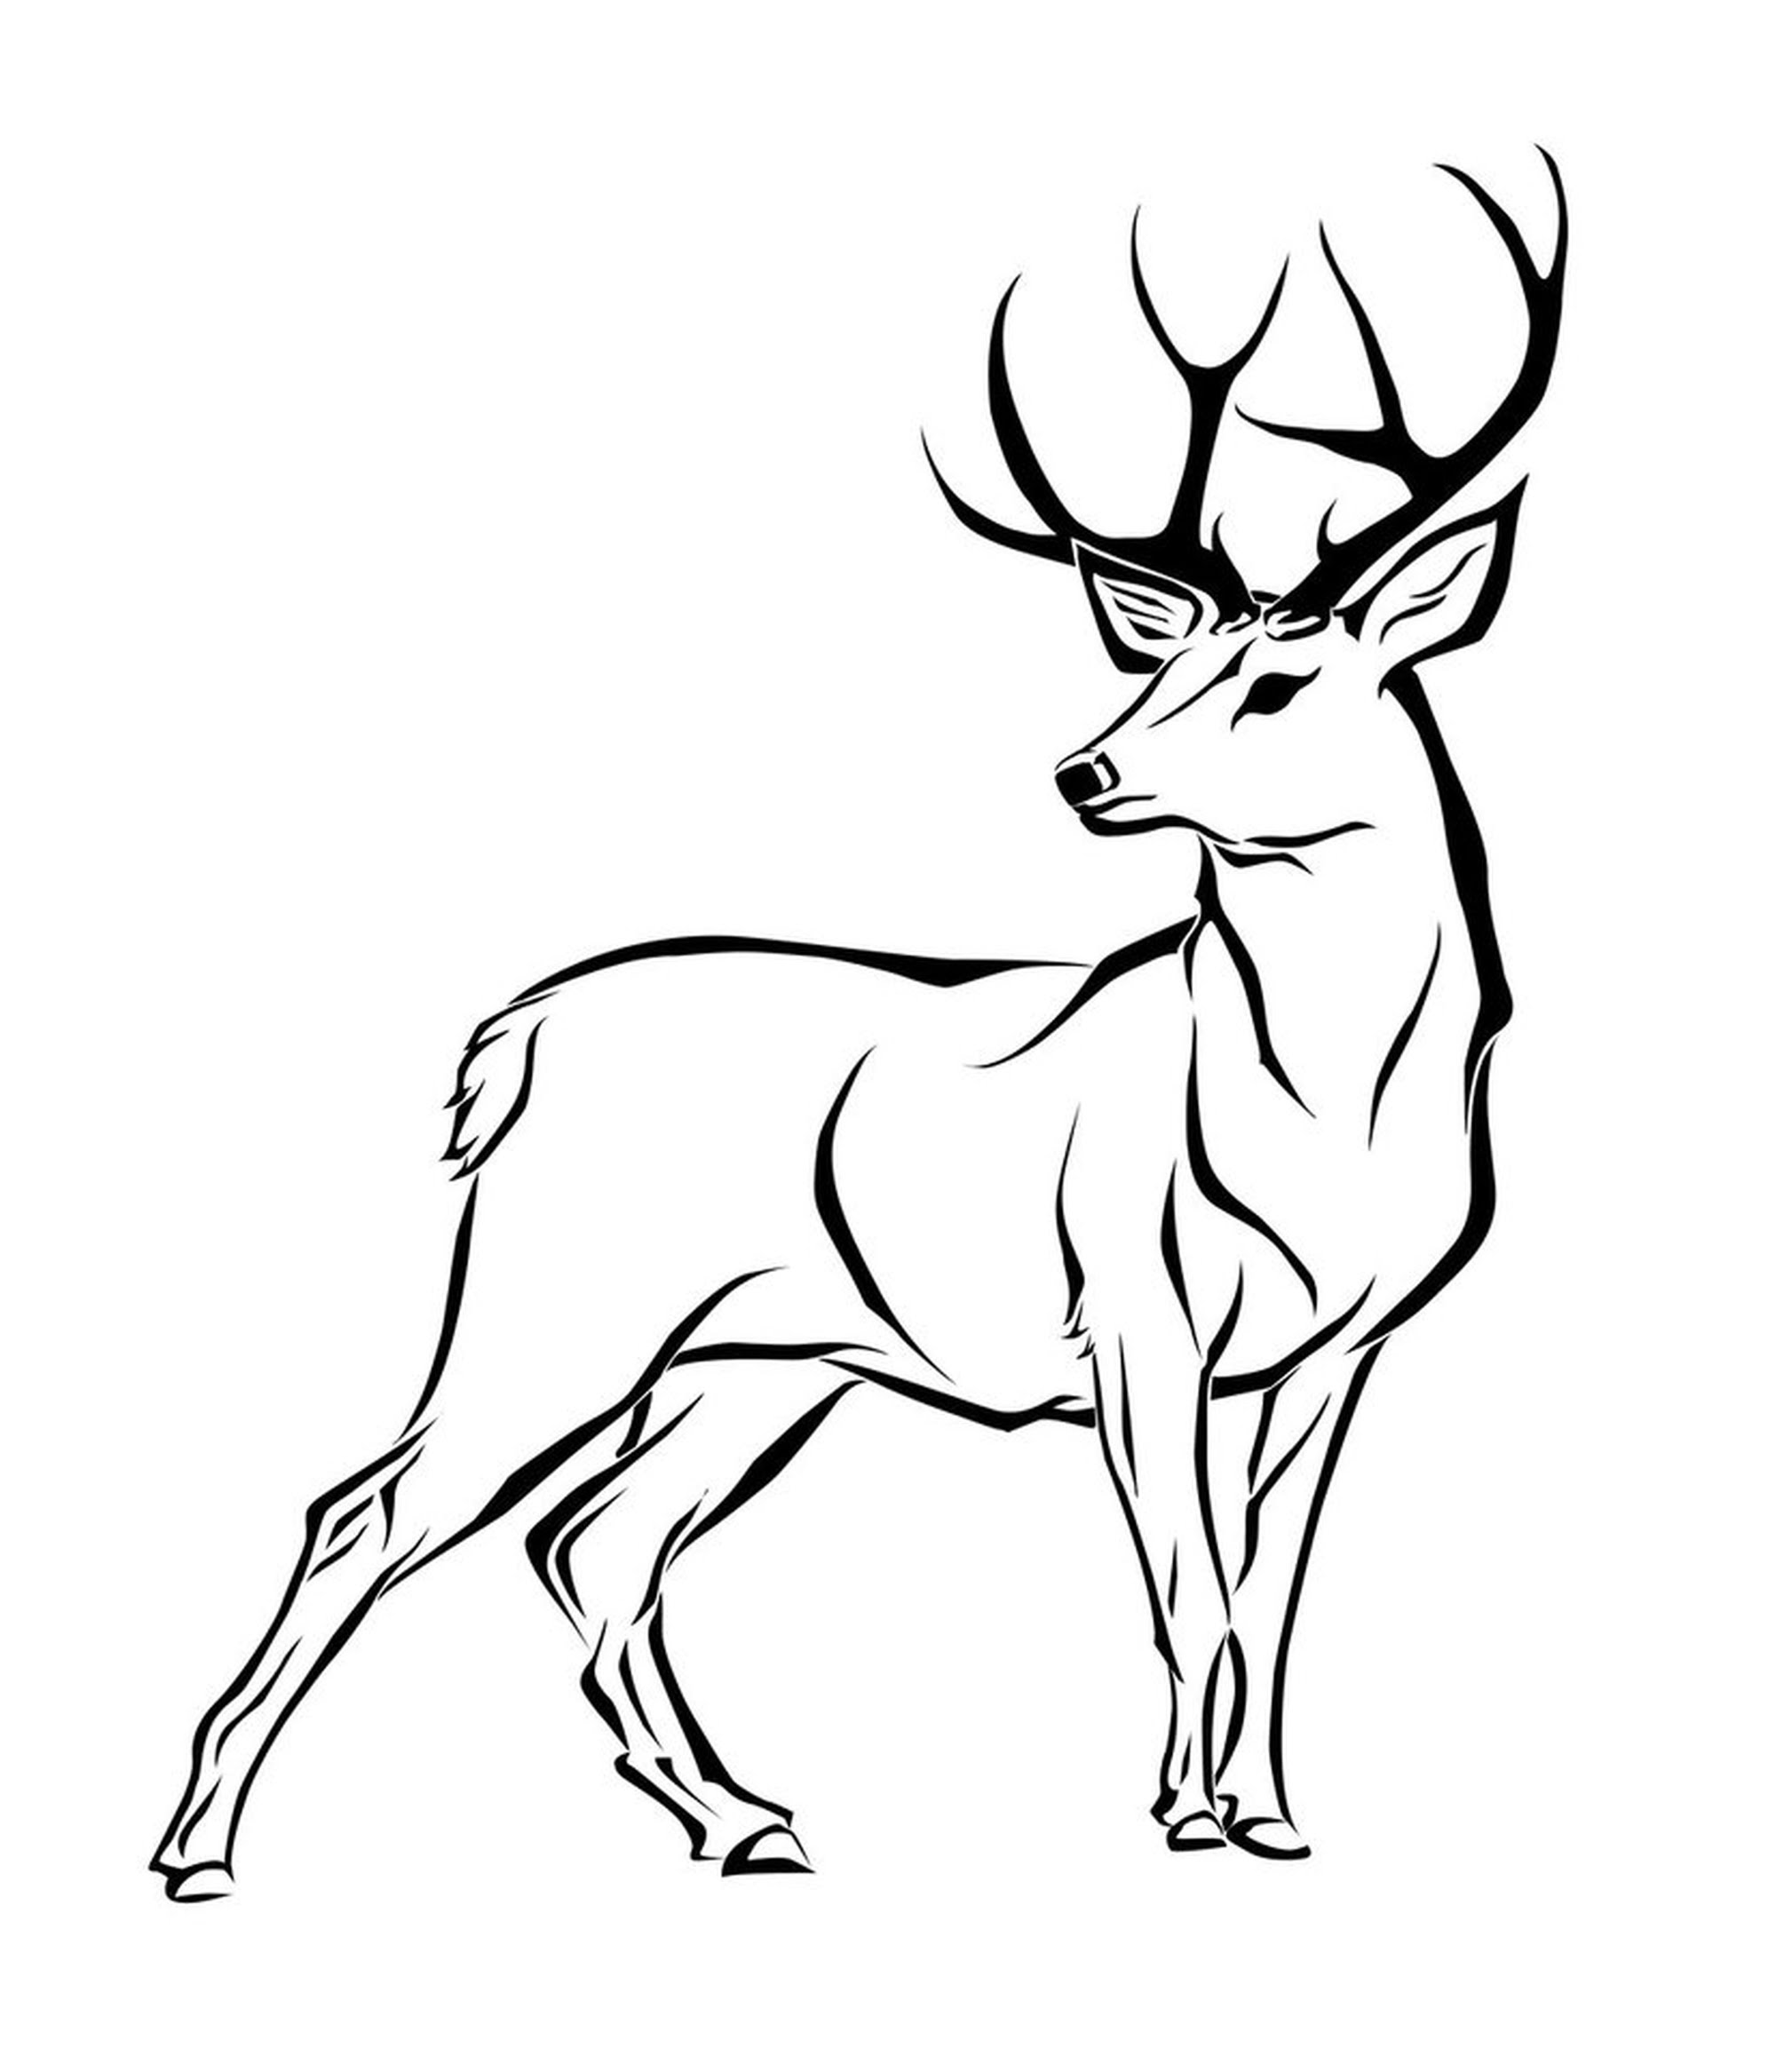
The secret to a great deer drawing often starts with simple shapes, that is that. Think about the main parts of the deer's body. We will notice the shape and size of each part of the deer as we go, which is a good habit for any artist, you know.
A good way to begin is by sketching light outlines. These will be your guides, and you can always adjust them later. It's like building something; you start with the basic structure, so. Don't press too hard with your pencil at this stage, as these lines are just temporary, honestly.
Building the Body: From Heart to Form
Creating the Core of Your Deer Drawing
For the deer's main body, you might find it helpful to start with a unique shape, that is that. Try to create a blocky heart shape for the chest and front part, you know. This shape gives you a good starting point for the deer's sturdy build, which is very important for proportion.
This shape provides a solid base for the deer's body. From there, you can extend lines for the back and hindquarters. It's a rather simple trick that makes a big difference in getting the overall form right, honestly. This method helps keep things balanced, pretty much.
Adding the Head and Neck in Your Deer Drawing
Connect the body to the head with a gentle curve for the neck, you know. The head itself can start as a simple oval or circle. You'll refine these shapes as you add more details, obviously. The neck should look strong but also graceful, like a real deer's neck, so.
Keep your lines light at this stage. You want them to be easy to erase if you need to make changes. It's all about building up the form gradually, in a way. Don't worry about perfection just yet; focus on getting the general placement right, you know.
Adding Character: Ears and Features
Shaping the Ears for Your Deer Drawing
Now, let's give our deer some ears, you know. On either side of that blocky heart shape (or rather, where the head will connect), create a leaf shape, one thinner than the other. This little detail helps give the ears a more natural look, honestly.
These leaf shapes will form the base of the ears. Pay attention to how deer ears typically sit on their heads, slightly pointed and expressive. They really add a lot of personality to your deer drawing, so. They can also show emotion, which is quite interesting.
Placing the Eyes, Nose, and Mouth in Your Deer Drawing
Once the ears are in place, you can add the eyes, nose, and mouth, you know. These small details really bring your deer drawing to life, honestly. They are like the finishing touches that give your deer a unique expression, pretty much.
Think about the deer's gentle expression. The eyes are usually large and dark, and the nose is often a soft, rounded shape. Take your time with these, as they are pretty important for the overall look, you know. A small dot for the eye and a simple curve for the mouth can go a long way, actually.
Crafting the Legs and Hooves
Drawing the Limbs for Your Deer Drawing
The legs can seem tricky, but breaking them down into sections helps, that is that. Start with simple lines for the upper and lower leg parts, then add joints. Think of them as cylinders or slightly tapered shapes, which makes them easier to manage, honestly.
Remember that deer have slender but strong legs. Try to show that strength and grace in your lines. It's really about observing how they stand and move, in a way. You can even look at pictures of deer to get a better idea of their leg structure, so.
Adding the Hooves to Your Deer Drawing
For the hooves, keep them relatively small and pointed, you know. They are usually split, so you can add a little line down the middle of each. It's a small detail that makes a big difference in making your deer drawing look complete, pretty much.
Make sure the hooves look like they can support the deer's weight. They are pretty much the anchors for your whole deer drawing, so getting them right is good. A slight curve at the bottom of the hoof can also add to the realism, you know.
Bringing it to Life: Details and Shading
Refining Your Deer Drawing Lines
Now is the time to go over your initial sketches and refine your lines, you know. Make some lines darker where you want them to stand out, and erase any unnecessary guide marks. This is where your deer drawing really starts to take shape, actually.
Smooth out any rough edges and add subtle curves to show the deer's muscle structure. It's about making your deer drawing look natural and flowing, you know. Don't be afraid to adjust things until they feel right; that's part of the creative process, so.
Adding Texture and Depth to Your Deer Drawing
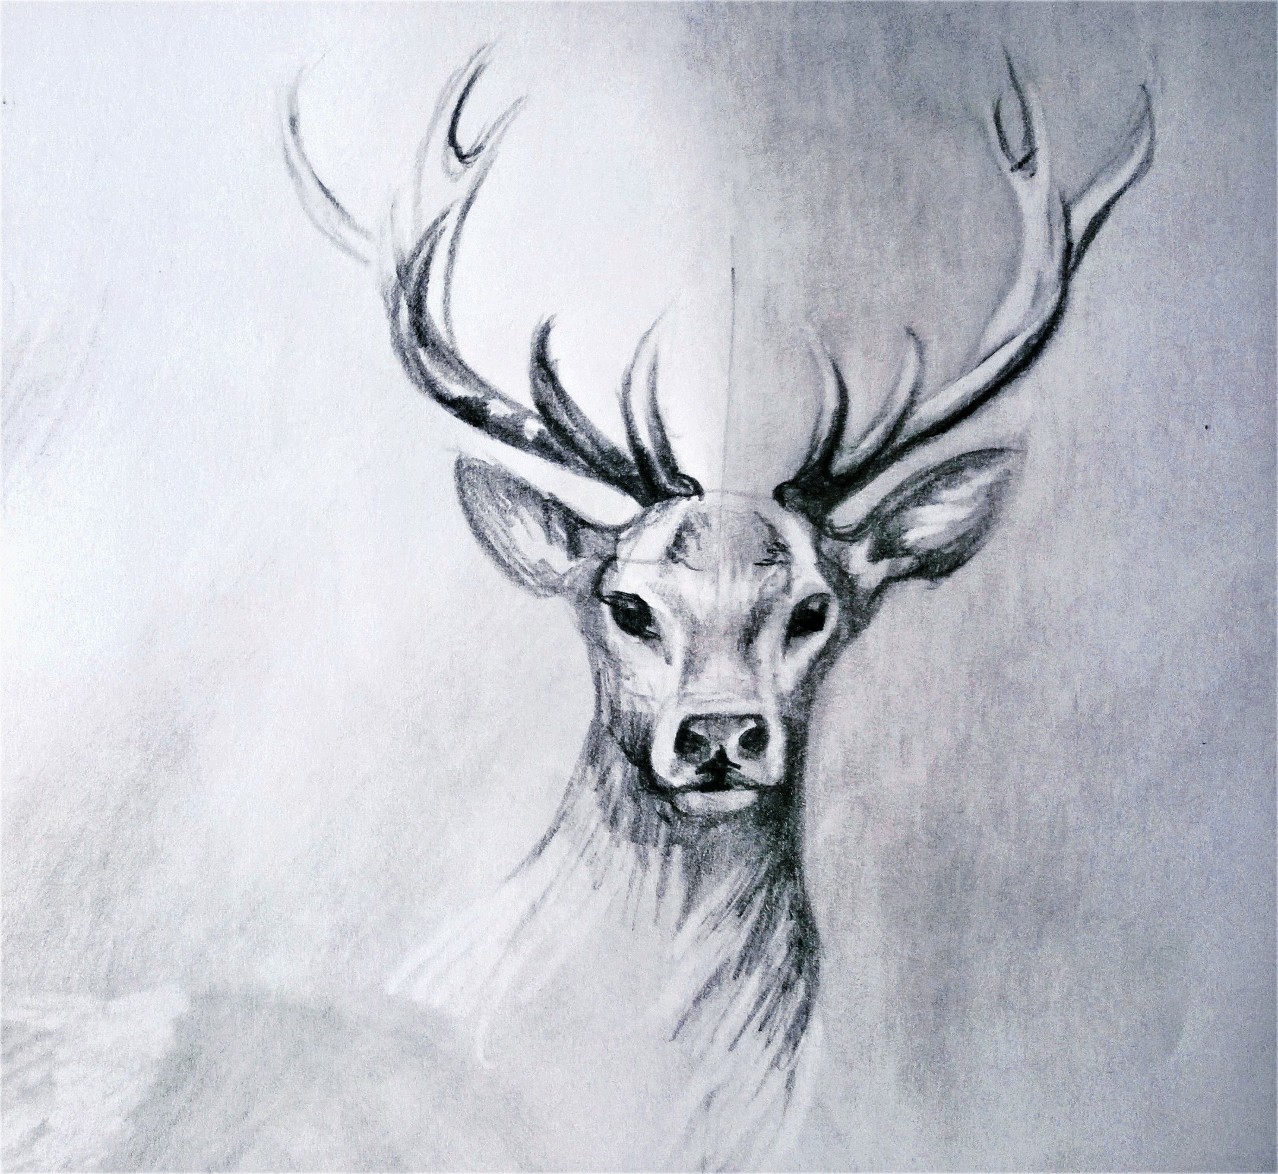
Consider adding some light shading to give your deer drawing more depth, you know. Think about where light would hit the deer and where shadows would fall, which really makes it pop, honestly. This adds a three-dimensional quality to your flat drawing, basically.
A little bit of texture for the fur can also make your deer drawing feel more real. Use short, light strokes in the direction the fur grows. Wildlife art can be a fulfilling pursuit, and learning to capture the essence of a deer on paper is a wonderful skill, pretty much. With a few simple techniques, you can create an amazing piece of art that will amaze your friends and family, really.
You can also add small details like spots if you are drawing a fawn, or a bit of texture to the nose. These tiny additions can make your deer drawing even more charming, you know. Remember, the goal is to have fun and express yourself through your art, so.
Drawing a Deer for Kids and Beginners
Simplifying Your Deer Drawing for Fun
If you are drawing for kids or are just starting out, keeping it simple is key, you know. You can learn drawing a deer in 10 easy steps with our free printable guide, for instance. This kind of guide breaks down the process into very manageable chunks, honestly.
In this tutorial, we’ll focus on drawing a cartoonish deer without antlers, perfect for kids and beginners, basically. A cartoon deer is often about exaggerated features and simpler forms, which makes the whole process less intimidating. It's pretty much about having fun with it, you know, and not worrying too much about perfection.
For a simpler approach, you can start with just a few basic shapes, like a large oval for the body and a smaller one for the head, that is that. Connect them with a curved line for the neck. This makes the deer drawing process very approachable for little hands and new artists, really.
Video Guidance for Your Deer Drawing
Sometimes seeing it done makes all the difference, you know. In this engaging video, we’ll guide you through the enjoyable process of drawing a deer, step by step. Visual aids can help you understand the flow and proportion much better, honestly. It's like having a personal instructor right there with you, basically.
Learning how to draw a deer is easier now than ever, that is that. With resources like video tutorials, you can pause, rewind, and follow along at your own pace. This makes the learning experience very flexible and comfortable, you know.
Use this tutorial on drawing a deer, so you can create the best thing ever! It's a fantastic way to learn at your own pace, really. With these 11 steps, you’ll be a pro at drawing a deer, or at least feel very confident about it, anyway. Practice a few times, and you'll be amazed at your progress, honestly.
You can find many online resources for learning to draw animals, which is pretty convenient. For more general drawing tips and techniques, you might find resources like this helpful: Basic Drawing Tips. This kind of resource can really help build your foundational skills, you know.
FAQs About Deer Drawing
Is it hard to draw a deer?
Not at all, you know! With step-by-step instructions and breaking it down into simple shapes, drawing a deer can be quite easy and fun. Many tutorials, like this one, are designed to help beginners create a lovely deer drawing without much struggle, honestly. It's really about taking it one small piece at a time, pretty much.
What are the basic shapes for a deer?
Typically, you start with a blocky heart shape for the chest, an oval for the head, and simple lines for the legs, that is that. These foundational shapes help you get the proportions right before adding finer details. It's like a basic blueprint that guides your hand, really, making the whole deer drawing process much smoother.
How do you draw a deer for kids?
For kids, focus on cartoonish styles and fewer details, you know. Start with very simple shapes, like circles and ovals, and keep the lines bold. Often, omitting antlers makes it simpler and more approachable for younger artists, which is pretty common. It's about making it fun and accessible, so they enjoy the deer drawing process.
Your Next Steps in Wildlife Art
You have now explored the journey of creating a wonderful deer drawing, from initial shapes to adding those finishing touches, you know. Remember, practice makes a difference, and every attempt helps you get better. Keep sketching, and enjoy the process of bringing animals to life on paper, honestly. Your skills will grow with each deer drawing you complete, basically.
Why not try drawing different poses or adding a background to your deer drawing next? The possibilities are pretty much endless, so. You can learn more about drawing techniques on our site, and find more animal tutorials on this page our animal drawing section. Keep that creative spirit going! It's truly rewarding to see your progress, you know.

Detail Author:
- Name : Jefferey Hayes
- Username : alana.ankunding
- Email : unader@ratke.biz
- Birthdate : 1995-05-13
- Address : 228 Kuphal Estates Murphystad, ID 95751
- Phone : 1-804-335-8570
- Company : Morissette Inc
- Job : Pharmacist
- Bio : Ut ut impedit alias qui dolor. Consequuntur ut reiciendis aut. Sit fugit qui eos quae. Repellat minus iure aliquam qui. Repellat optio explicabo iusto molestias quis esse tempore nihil.
Socials
linkedin:
- url : https://linkedin.com/in/eileenlindgren
- username : eileenlindgren
- bio : Est sunt ipsum officia non inventore sunt optio.
- followers : 3889
- following : 186
facebook:
- url : https://facebook.com/eileen_dev
- username : eileen_dev
- bio : Voluptas ducimus quibusdam voluptatibus qui vel fuga repudiandae.
- followers : 2108
- following : 1322
