
Do you ever feel like chasing down a mystery, maybe with a lovable Great Dane and his pals by your side? Well, you're not alone, and it's almost a universal feeling for many who grew up with the classic adventures. For those who enjoy a bit of creative fun, making things with Perler beads offers a really neat way to bring favorite characters to life. Imagine creating your very own Scooby Doo Perler beads; it's a fantastic project for fans of all ages, allowing you to capture the spirit of Mystery Inc. in tiny, colorful plastic pieces. So, if you're looking for a project that combines nostalgia with hands-on creativity, you've certainly found it here.
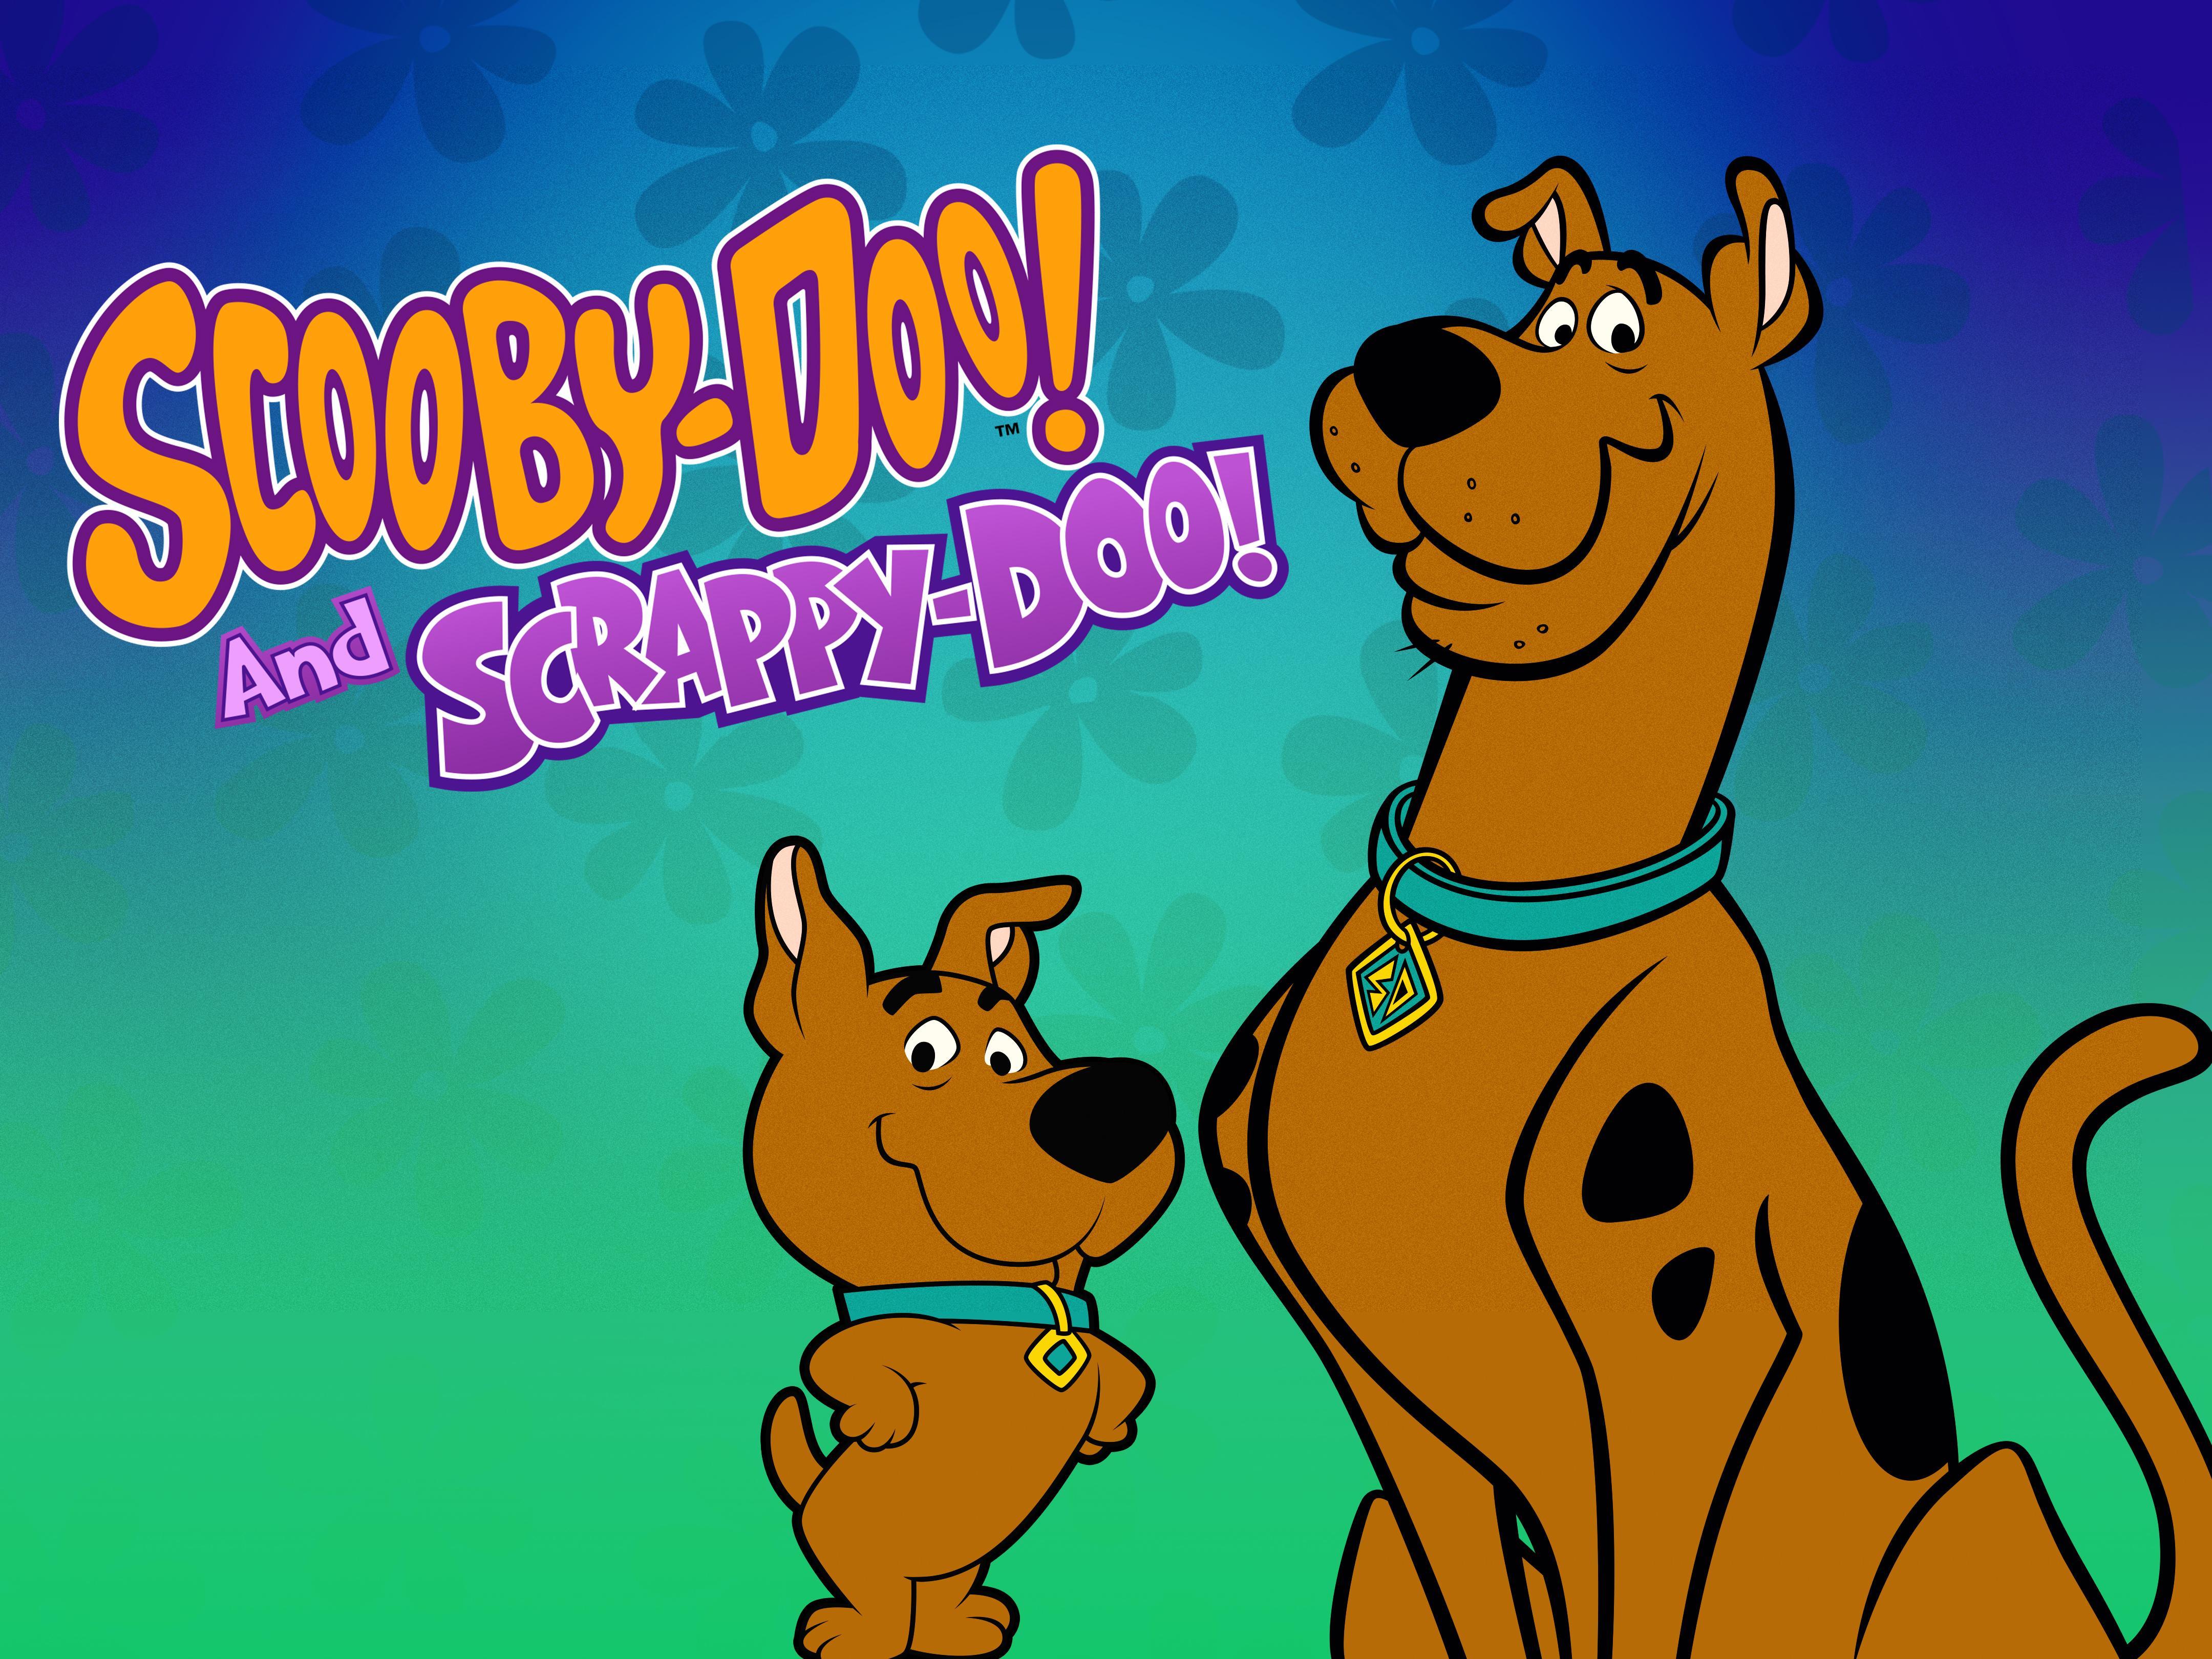
There's something truly special about the world of Scooby Doo, where are you, isn't there? It’s a place where the gang needs some groovy tunes while they're chased down by monsters, yet they always find a solution to mysteries. This show, which first appeared way back in 1969, follows the iconic mystery-solving detectives, known as Mystery Inc., as they uncover secrets. Scoobert "Scooby" Doo himself, the main character, is a great dane and the mascot of this clever team. It's truly a timeless series, offering classic adventures with a touch of humor and suspense, and honestly, who doesn't love a good mystery solved?
Making Perler bead creations is a pretty cool way to show your appreciation for these classic tales. It's a simple, calming activity that lets your imagination roam free. You can make little versions of Scooby, Shaggy, Velma, Daphne, and Fred, or even the famous Mystery Machine itself. This guide will walk you through everything you need to know, from gathering your bits and pieces to putting the finishing touches on your very own Scooby Doo Perler bead masterpieces. We'll explore how to get started, share some design ideas, and give you tips for making your projects look just right, because, you know, getting it right feels good.
Table of Contents
- Why Scooby Doo Perler Beads?
- Getting Your Gear Ready: What You'll Need
- Designing Your Mystery Inc. Crew
- Your Step-by-Step Guide to Perler Perfection
- Beyond the Flat Image: More Ideas
- Troubleshooting Common Perler Bead Challenges
- Sharing Your Creations and Joining the Community
- Frequently Asked Questions About Scooby Doo Perler Beads
- Wrapping Up Your Perler Bead Adventure
Why Scooby Doo Perler Beads?
There are many good reasons why Scooby Doo Perler beads are such a popular choice for crafters. First off, the show itself has been around since 1969, making it a true classic that many people have grown up with. It’s a source of happy memories for lots of folks, and that makes crafting characters from it feel extra special. You're not just making a picture; you're making a piece of your own history, in a way, which is pretty cool.
Also, the characters have very distinct looks, which makes them perfect for Perler bead projects. Scooby's brown fur, Shaggy's green shirt, Velma's orange sweater – these colors translate really well into the bead medium. This means even if you're just starting out, it's fairly easy to get a recognizable result, and that's a big plus for keeping spirits up during a creative project, you know? It's really quite satisfying.
What's more, Perler bead crafting is a calming activity. It helps you focus and lets your mind relax as you pick out colors and place each tiny bead. It’s a wonderful way to unwind after a busy day or to spend a quiet afternoon. For families, it’s a shared activity that can bring everyone together, making something fun that they can then display or give as gifts. It's a pretty wholesome activity, honestly.
Getting Your Gear Ready: What You'll Need
Before you begin your Scooby Doo Perler bead adventure, you'll need to gather a few important things. Luckily, the list is pretty short and the items are easy to find. You'll want to make sure you have everything ready to go so your creative flow doesn't get interrupted. This preparation step is actually quite important for a smooth crafting experience.
First, you'll need Perler beads themselves. These come in a huge variety of colors, and for Scooby Doo, you'll definitely want shades of brown, green, orange, blue, and black, among others. A mixed bucket is a good starting point, but you might want to pick up specific packs of colors that are essential for the gang. It's always better to have more than enough, just in case, you know?
Next up are the pegboards. These are the plastic plates with little pegs that you place your beads on. Square pegboards are typically the most versatile for pixel art, which is what Perler beads essentially create. You might also find some fun shapes, but for characters, a square one usually works best. Having a few different sizes can be helpful, too it's almost a necessity for bigger projects.
You'll also need ironing paper, which is a special sheet that you place over your design before ironing. This paper helps melt the beads together evenly and keeps your iron clean. Most Perler bead kits come with some, but it's a good idea to have extra on hand, as a matter of fact. A roll of parchment paper from your kitchen can also work in a pinch, just so you know.
And of course, an iron! A standard household iron works perfectly. You don't need anything fancy, just one that can heat up and maintain a steady temperature. A flat, heat-safe surface for ironing is also important, like an ironing board or a heat-resistant mat. Safety is key here, so make sure your ironing spot is stable and won't get damaged by heat, obviously.
Finally, some tweezers can be really helpful for placing those tiny beads precisely, especially for detailed parts of your design. A small bowl or container for sorting colors will also make your life much easier, preventing a colorful mess. Having your beads sorted by color can really speed up the process, which is pretty nice.
Designing Your Mystery Inc. Crew
Now comes the really fun part: designing your Scooby Doo Perler bead characters! You can find tons of patterns online, or you can try to make your own. The classic adventures of the lovable great dane and his human companions as they hunt for clues, hungry for a solution to mysteries, provide endless inspiration. Think about their distinct features and how you can translate them into little bead pixels, because that's what this craft is all about, right?
Scooby Doo: The Lovable Great Dane
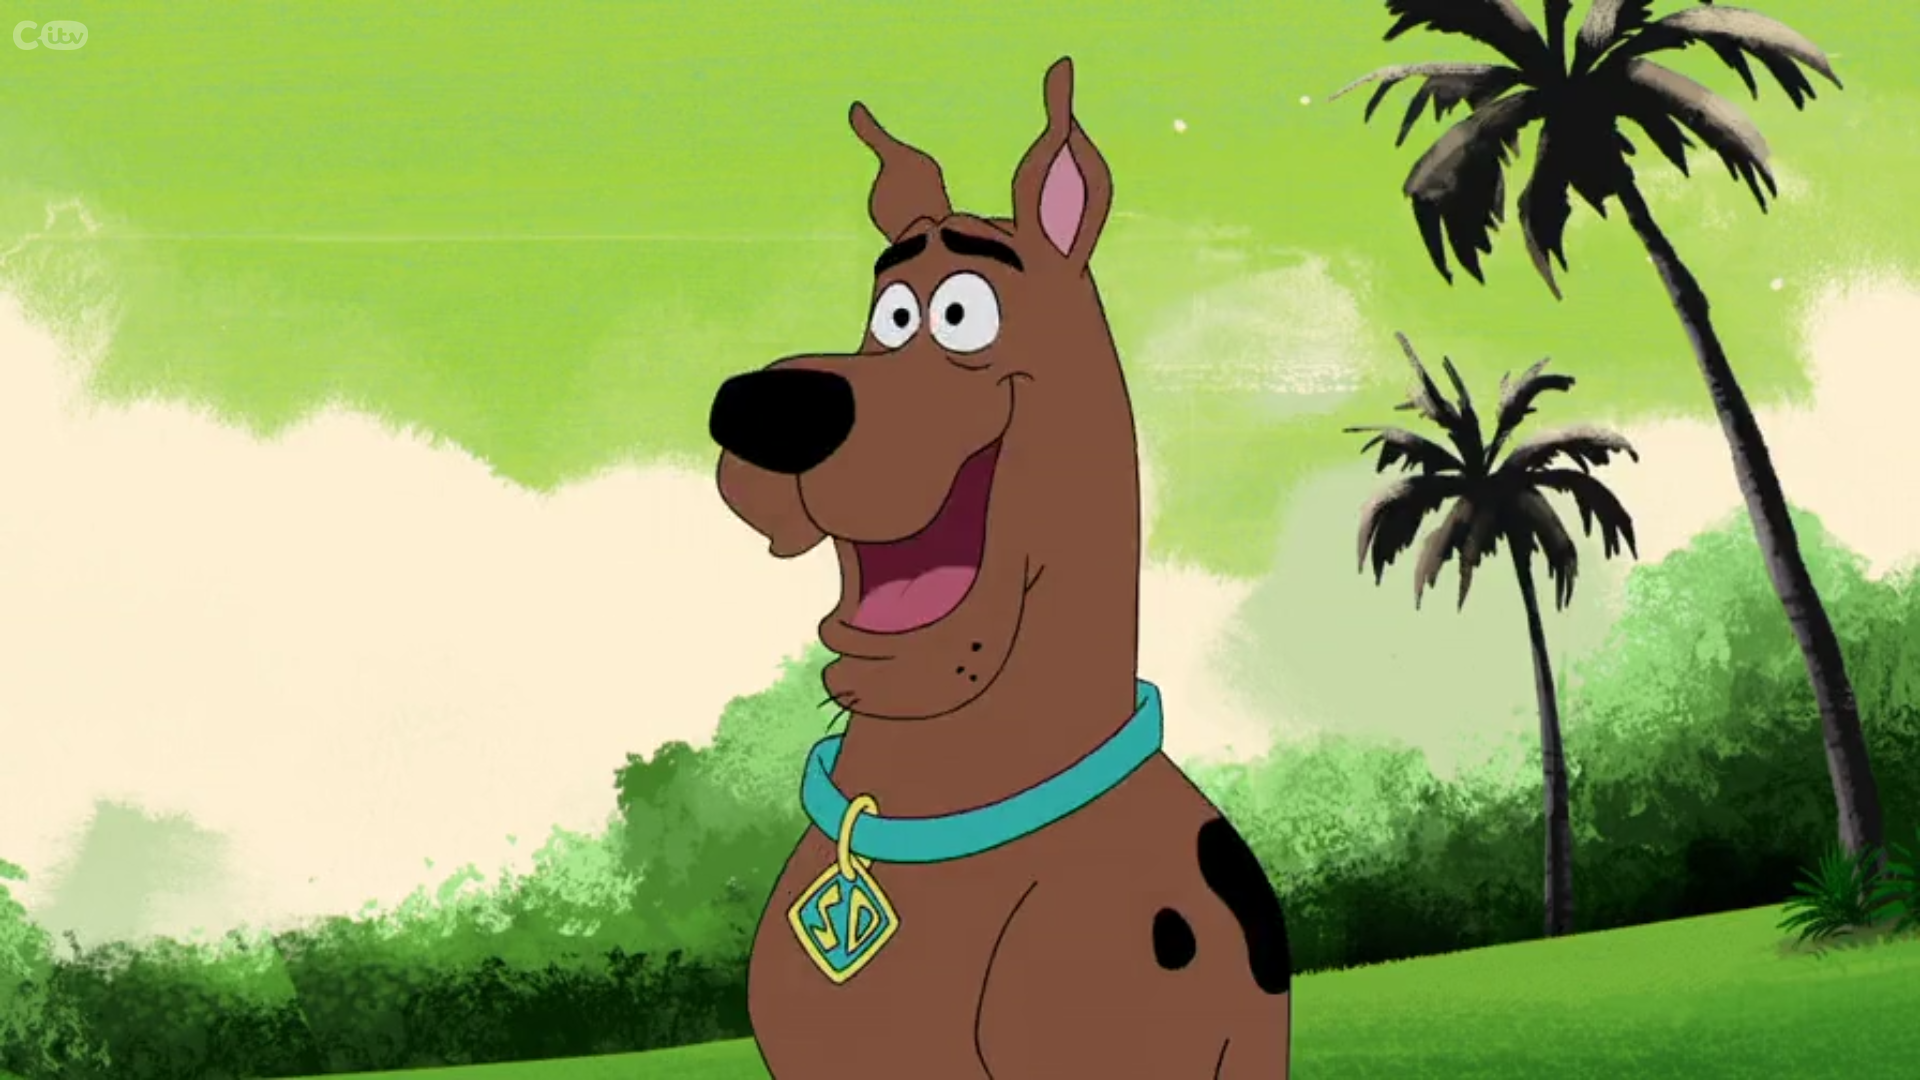
Scoobert "Scooby" Doo is the main character, and he is a great dane, the mascot of Mystery Inc. To create him, you'll primarily need shades of brown for his fur, a lighter tan for his muzzle and belly, and black for his nose and eyes. Don't forget a little bit of blue for his collar and yellow for his "SD" tag. His goofy smile is a must-have detail, so you might need a tiny bit of red or pink for his tongue. You can find simple patterns that capture his essence, which is really quite charming.
Shaggy and Scooby: The Hungry Duo
Shaggy Rogers is Scooby's best friend and constant companion, known for his green shirt and brown pants. When making Shaggy, focus on those key colors: green for his top, brown for his bottom half, and a skin tone for his face and hands. His messy hair is a defining feature, so use a good amount of brown for that. Making them together as a pair is a great idea, as they're always seen together, eating giant sandwiches, as a matter of fact.
Velma: The Brains of the Outfit
Velma Dinkley, with her signature orange turtleneck, red skirt, and glasses, is the brains of the Mystery Inc. team. For her Perler bead version, you'll need plenty of orange, red, and a skin tone. Black beads will be perfect for her glasses, and a dark brown for her bob haircut. Her thoughtful expression can be tricky to capture, but a simple line for her mouth usually does the trick. She's a pretty iconic character, honestly.
Daphne and Fred: The Fashionable and Fearless
Daphne Blake is known for her purple dress and red hair, while Fred Jones typically wears a blue shirt, white pants, and an orange ascot. For Daphne, use various shades of purple, a skin tone, and plenty of red for her hair. Fred will require blue, white, and orange. Their designs are a bit more detailed but still very achievable with Perler beads. Creating all five members of the gang really completes the set, you know?
The Mystery Machine: On Wheels
The Mystery Machine is almost as famous as the gang itself! This iconic van is mostly blue and green, with orange flowers and a bit of yellow for the headlights. You'll need a good mix of these colors to make it. This project might be a bit larger than the individual characters, so be prepared for more beads and a bigger pegboard. It’s a pretty fun challenge, and the result is always very recognizable.
Your Step-by-Step Guide to Perler Perfection
Once you have your design in mind and your supplies ready, it’s time to start putting those beads in place. This part requires a bit of patience and a steady hand, but it’s incredibly rewarding. It's really about taking your time and enjoying the process, you know?
Laying Out Your Design
Start by placing your pegboard on a flat, stable surface. Then, begin putting your Perler beads onto the pegs, following your chosen pattern or your own design. Work from one side to the other, or from the outside in, whatever feels most comfortable for you. Using tweezers can help with precise placement, especially for small details. Double-check your colors as you go, because a misplaced bead can sometimes throw off the whole look, you know?
The Ironing Process: A Gentle Touch
Once all your beads are in place, carefully lay a piece of ironing paper over your design. Make sure it covers all the beads. Set your iron to a medium heat setting, with no steam. Gently move the iron in a circular motion over the ironing paper, applying light pressure. You'll see the beads start to melt and fuse together through the paper. Keep ironing until all the beads are connected, but don't over-iron, or they might flatten too much, which isn't ideal, apparently.
Safety First, Always
Always have an adult handle the ironing process, especially if children are involved. The iron gets very hot, and melted plastic can be tricky. Make sure the area is well-ventilated, as there can be a slight odor from the melting plastic. Once ironed, let the design cool completely before removing it from the pegboard. Trying to remove it too soon can cause it to bend or break, and nobody wants that, right?
Beyond the Flat Image: More Ideas
Your Scooby Doo Perler bead creations don't have to stay flat! There are many fun ways to use them once they're finished. You can turn them into keychains by adding a jump ring and a keychain attachment. They also make great magnets if you glue a small magnet to the back. These are pretty simple additions that make your creations even more useful, honestly.
Consider framing your finished pieces for a cool piece of wall art. A collection of all the Mystery Inc. characters framed together would look really neat in a kid's room or a craft space. You could even create a background with Perler beads, like a spooky mansion or a forest scene, to make a diorama. This really takes your crafting up a notch, you know?
For a more advanced challenge, try making 3D Perler bead creations. You can design separate pieces that fit together, like the sides of the Mystery Machine or a standing Scooby Doo figure. This involves a bit more planning and precision, but the results are truly impressive. There are patterns available online for 3D designs if you're feeling adventurous, which is pretty exciting.
You can also use your Scooby Doo Perler beads to decorate other items. Attach them to pencil holders, storage boxes, or even the front of a plain notebook. They add a personal, handmade touch to everyday objects. It's a wonderful way to show off your love for the gang and your crafting skills, too it's almost like a little piece of art you can carry around.
Think about making small Scooby Snacks as tiny Perler bead designs. These could be used as confetti for a Scooby Doo themed party or as little embellishments on cards. The possibilities are quite vast once you start thinking outside the traditional flat design. It's really about letting your imagination lead the way, and that's a good thing.
Troubleshooting Common Perler Bead Challenges
Even experienced crafters sometimes run into little bumps along the road when working with Perler beads. Don't worry if your first few attempts aren't perfect; it's all part of the learning process. One common issue is uneven melting. This usually happens if the iron isn't moved enough or if the heat isn't distributed evenly. To fix this, just go back over the un-melted spots with the iron, applying gentle pressure, which is usually all it takes.
Another thing that can happen is beads sticking to the ironing paper. This typically means you've either over-ironed the beads or the iron was too hot. If this happens, try peeling the paper off very slowly once the design has cooled a bit. If some paper remains, you can gently try to rub it off, but sometimes a small bit might stay, and that's usually okay. Using fresh ironing paper for each project can also help prevent this, obviously.
Sometimes, your finished design might warp or curl after cooling. This often occurs if you remove the design from the pegboard while it's still warm, or if it cools unevenly. To prevent this, place a heavy book on top of your design immediately after removing it from the pegboard, while it's still warm but not hot, and let it cool completely under the weight. This helps it stay flat, which is pretty neat.
If your beads aren't fusing at all, check your iron's temperature setting. It might be too low. Make sure it's on a medium setting and that you're applying consistent, gentle pressure. Also, ensure you're using actual ironing paper or parchment paper, not wax paper, as wax paper will melt onto your project, and that's definitely not what you want, you know?
Lastly, if beads keep falling off the pegboard while you're working, try placing a piece of non-slip matting or a towel underneath the pegboard to keep it steady. Working on a very flat, stable surface also helps a lot. Patience is key with this craft, and sometimes, taking a short break can help you come back with a fresh eye, which is a good idea, apparently.
Sharing Your Creations and Joining the Community
Once you've made some fantastic Scooby Doo Perler beads, you'll probably want to show them off! There are many online communities where crafters share their work and get inspiration. Instagram, Pinterest, and various crafting forums are great places to post pictures of your finished pieces. Use hashtags like #ScoobyDooPerlerBeads or #PerlerArt to connect with others who share your interest, and that's a fun way to get feedback.
You can also find more patterns and ideas by looking at what other people have created. Many crafters share their patterns for free, which is a wonderful resource for expanding your own collection of designs. It's a very supportive community, where people encourage each other's creativity. You might even inspire someone else to start their own Perler bead adventure, which is pretty cool, honestly.
Consider giving your creations as gifts to fellow Scooby Doo fans. A handmade Perler bead character makes a thoughtful and unique present. It shows you put time and effort into something special, and that really means a lot to people. So, go ahead and share your groovy Perler bead art with the world, because it's worth seeing, you know?
Frequently Asked Questions About Scooby Doo Perler Beads
Are Perler beads safe for kids?
Yes, Perler beads are generally safe for children, but adult supervision is very important, especially during the ironing stage. The beads themselves are small, so they're not suitable for very young children who might put them in their mouths. Always make sure there's good ventilation when ironing, as a matter of fact.
Where can I find Scooby Doo Perler bead patterns?
You can find many Scooby Doo Perler bead patterns online. Websites like Pinterest, craft blogs, and Perler bead community forums are great places to search. Just type "Scooby Doo Perler bead patterns" into your search engine, and you'll find a wide variety of designs, which is pretty convenient, you know?
How do I make my Perler beads last longer?
To help your Perler bead creations last, make sure they are fully fused during ironing but not over-ironed, as this can make them brittle. Keep them out of direct sunlight to prevent colors from fading over time. If they're handled often, like keychains, they might eventually break, but for display pieces, they can last for a very long time, which is pretty neat.
Wrapping Up Your Perler Bead Adventure
Creating Scooby Doo Perler beads is a wonderfully engaging and creative activity that brings a touch of classic cartoon fun into your home. From the lovable Great Dane himself to the entire Mystery Inc. gang and their iconic van, there's a whole world of characters waiting to be crafted. It’s a project that combines the simple joy of bead art with the enduring appeal of a show that has captivated audiences for generations. So, gather your supplies, pick your favorite character, and get ready to create some truly groovy art that solves the mystery of what to do with your free time! Learn more about crafting fun on our site, and link to this page for more Perler bead ideas.

Detail Author:
- Name : Alvera Botsford
- Username : lesch.katlynn
- Email : sbailey@larkin.com
- Birthdate : 1982-10-02
- Address : 7830 Renner Valleys Suite 835 East Georgechester, HI 85027
- Phone : 551.687.7344
- Company : Rohan-Towne
- Job : Machine Feeder
- Bio : Quo voluptatem qui doloremque est laboriosam. Quod necessitatibus sint voluptatibus. Excepturi impedit recusandae dolorem quae eveniet ea.
Socials
twitter:
- url : https://twitter.com/francisca.hauck
- username : francisca.hauck
- bio : In sit sequi quisquam sint iste iure rerum quaerat. Necessitatibus nulla et voluptas sequi error tempora magni. Rerum sed ipsa non odio fuga.
- followers : 2464
- following : 373
facebook:
- url : https://facebook.com/francisca_hauck
- username : francisca_hauck
- bio : Quia qui asperiores natus. Qui maxime deleniti aut et asperiores eum.
- followers : 6220
- following : 2172
linkedin:
- url : https://linkedin.com/in/fhauck
- username : fhauck
- bio : Cupiditate cupiditate sunt tenetur minima ipsam.
- followers : 1930
- following : 2492
tiktok:
- url : https://tiktok.com/@francisca3536
- username : francisca3536
- bio : Ea accusantium maiores dolorem et.
- followers : 4247
- following : 1658
