
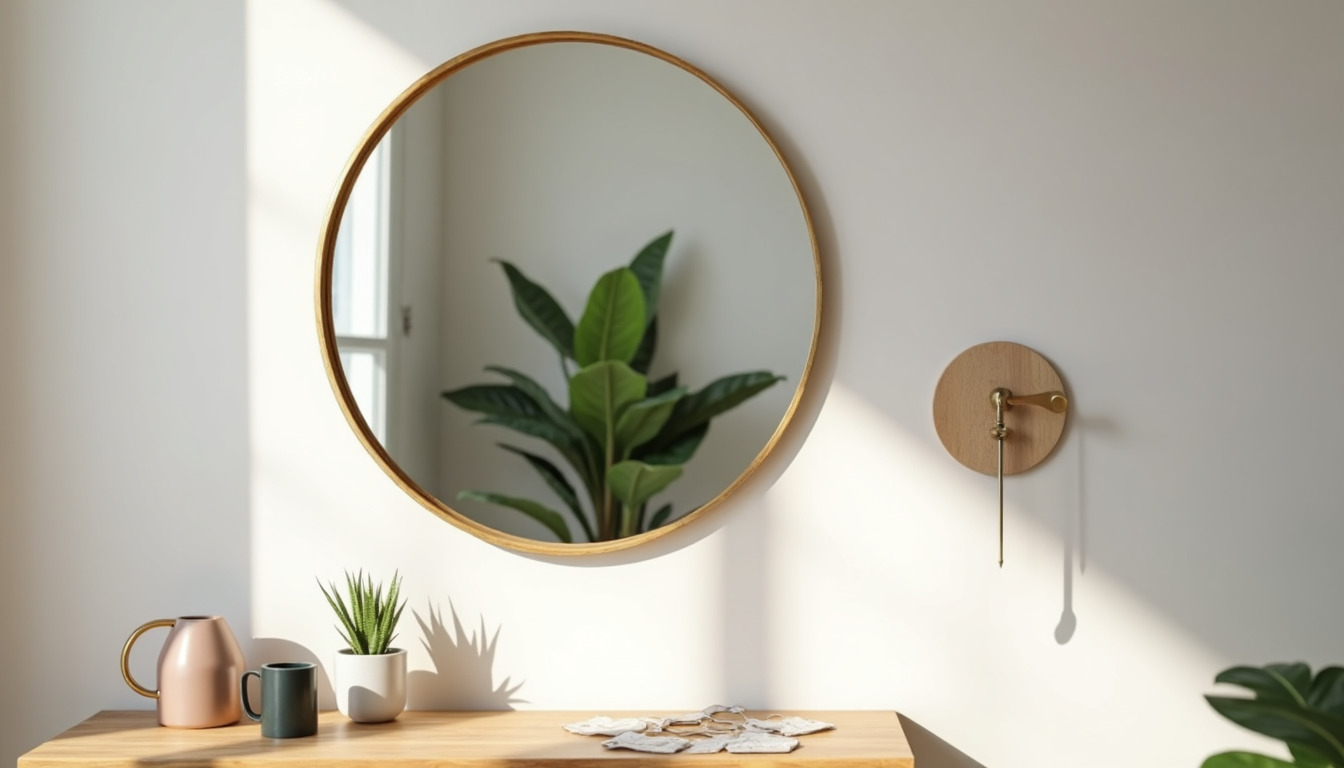
Putting up a mirror can truly change how a room feels, making it look bigger and brighter. But what if you really don't want to use nails? Maybe you live in a rented place and want to keep your security deposit safe, or perhaps you just prefer to keep your walls free from holes. You might even feel a little unsure about using power tools, and that's perfectly okay. Good news, though: you can absolutely hang a mirror without a single nail, and there are many good ways to do it.
You know, sometimes the usual way of doing things just isn't an option. Maybe you've faced a moment when a familiar tool or option vanished, like when the paper clip icon disappeared for attaching files in your messages, leaving you to find a clever workaround. Well, hanging a mirror without nails can feel a bit like that, too. The drill and hammer might not be available, or you just prefer not to use them, yet you still want that mirror on the wall, so.
This article will show you how to attach a mirror to a wall without nails, using clever methods that keep your walls looking neat. We'll go over different approaches, what you'll need for each, and how to pick the best one for your mirror and your home. You'll find that getting that perfect reflection on your wall is easier than you might think, anyway.
Table of Contents
- Why Skip the Nails?
- Getting Ready: What You'll Need
- Top Nail-Free Mirror Hanging Methods
- Choosing the Right Method for Your Mirror
- Important Safety Tips
- Frequently Asked Questions
Why Skip the Nails?
There are many good reasons to choose nail-free ways to hang your mirrors. For folks living in apartments, avoiding holes means you won't lose any of your security deposit when you move out, which is a big plus. It's a rather simple choice for keeping your walls in good shape.
Beyond rentals, some people just like the idea of not putting holes in their walls. It keeps the surface looking smooth and clean. If you like to change your decor often, nail-free methods make it much easier to move mirrors around without patching up old holes, you know.
Then there's the ease of it all. Not everyone has a drill or feels comfortable using one. Nail-free options often just need a clean surface and a bit of careful placement. This makes decorating accessible to more people, pretty much.
Getting Ready: What You'll Need
Before you even think about sticking anything to your wall, a little bit of preparation goes a long way. This step is super important for making sure your mirror stays put. You want to give your chosen adhesive the best chance to do its job, so.
Cleanliness Matters
First things first, clean the wall where you plan to hang the mirror. Dust, dirt, or grease can stop the adhesive from sticking properly. Use a damp cloth with a little bit of mild soap, or even rubbing alcohol for painted walls. Let the wall dry completely before you do anything else, too.
Do the same for the back of the mirror. A clean surface on both sides means a better bond. A simple wipe with a clean, dry cloth usually does the trick for the mirror itself, that is.
Measure Twice, Stick Once
This old saying is very true when you're hanging anything without nails. Once adhesive touches the wall, it's often hard to move without causing damage. Use a pencil to lightly mark where you want the top corners of your mirror to go. A level helps make sure your marks are straight, you know.
For larger mirrors, it's a good idea to have a friend help you hold it up to the wall before you mark. This way, you can get a good feel for its placement and how it looks in the room. This little bit of planning saves a lot of trouble, really.
Top Nail-Free Mirror Hanging Methods
Now, let's get into the various ways you can attach a mirror to a wall without nails. Each method has its own strengths, and what works best depends on your mirror's size and weight, as well as your wall type, basically.
Adhesive Strips and Hooks
These are a popular choice for many people, especially for smaller to medium-sized mirrors. Brands like Command offer a range of strips and hooks designed for damage-free hanging. They use a special adhesive that holds well but can be removed cleanly, usually.
Pros
- Easy to use and apply.
- No tools needed, just your hands.
- Removes cleanly without leaving marks or pulling off paint, if used correctly.
- Good for renters or those who change decor often.
Cons
- Weight limits are important; not for very heavy mirrors.
- Can lose grip in high humidity or temperature changes, sometimes.
- Requires careful application and removal to work as intended.
How-to steps
- Clean the wall and the back of the mirror thoroughly.
- Separate the adhesive strips. Most come in pairs that click together.
- Attach one side of the strip pair to the back of the mirror, usually near the edges or corners. Press firmly for about 30 seconds.
- Remove the liner from the other side of the strip.
- Line up your mirror with your pencil marks on the wall. Press the mirror firmly against the wall where the strips are, holding for about 30 seconds.
- For best results, some brands suggest removing the mirror and pressing the strips on the wall for another 30 seconds, then reattaching the mirror after an hour. This lets the adhesive bond better with the wall, apparently.
Mirror Adhesive Glues
For a more permanent hold, special mirror adhesive glues are a strong option. These are different from regular construction adhesives because they are made not to damage the mirror's backing, which is very important. They offer a very firm bond, you know.
Pros
- Offers a very strong and lasting hold.
- Good for heavier mirrors where strips might not be enough.
- Can be used on various wall surfaces.
Cons
- Very permanent; removal can damage the wall or mirror.
- Requires careful application; once it's on, it's hard to adjust.
- Needs time to cure, meaning you'll need to support the mirror while it dries.
How-to steps
- Clean the wall and the back of the mirror very well.
- Apply the mirror adhesive in vertical strips or dots on the back of the mirror. Leave space around the edges for air circulation. Do not apply in a continuous bead around the edge, as this can trap moisture.
- Carefully position the mirror on the wall, using your pencil marks as a guide. Press firmly.
- You will need to support the mirror while the glue dries. This can be done with painter's tape, temporary blocks, or by leaning it against something sturdy. Check the adhesive's instructions for drying times, which can be several hours to a full day.
- Once dry, remove any temporary supports.
Heavy-Duty Mounting Tape
This type of tape is a step up from regular double-sided tape. It's often foam-based and has a very strong adhesive on both sides. It's good for mirrors that are a bit too heavy for standard adhesive strips but not so heavy that they need permanent glue, basically.
Pros
- Stronger hold than basic adhesive strips.
- Relatively easy to apply.
- No drying time needed like with glues.
Cons
- Can be difficult to remove without damaging paint or drywall.
- Not suitable for very heavy mirrors.
- May lose effectiveness in extreme temperatures or humidity.
How-to steps
- Make sure both the wall and the mirror's back are very clean and dry.
- Cut strips of the mounting tape and apply them vertically to the back of the mirror. Place them strategically, especially around the edges and center for even weight distribution.
- Peel off the protective backing from the tape.
- Carefully align the mirror with your wall marks. Press the mirror firmly against the wall, holding it in place for a good 30-60 seconds to allow the tape to bond.
Lean-to Mirrors with Safety Brackets
For large, full-length mirrors, leaning them against the wall is a very popular look. While this doesn't "attach" the mirror in the traditional sense, you can use small, clear safety brackets at the top to prevent it from tipping over. These brackets often use small, fine nails or strong adhesive, but they are very small and discreet, and the mirror's weight is on the floor, so.
Pros
- Stylish and modern look.
- No heavy lifting or wall stress for the main weight.
- Brackets offer a good safety measure without major wall holes.
Cons
- Requires floor space.
- Not truly "attached" to the wall, so it could still be bumped.
- Brackets might still need tiny nails or strong adhesive, depending on the type.
How-to steps
- Place your large mirror where you want it to lean against the wall. Make sure it feels stable and is slightly angled back.
- Identify where the top corners of the mirror meet the wall.
- Install small, clear safety brackets just above the top edge of the mirror. These brackets are usually designed to hold the mirror snug against the wall, stopping it from falling forward. Some can be adhered, others might need tiny tacks.
- Check that the mirror feels secure and won't easily tip.
Choosing the Right Method for Your Mirror
Picking the best way to attach a mirror to a wall without nails depends on a few key things. You need to think about the mirror itself and the place where it will hang, naturally.
Mirror Weight and Size
This is probably the most important factor. A small, lightweight decorative mirror can easily use adhesive strips. A very large, heavy full-length mirror, however, will need something much stronger, like mirror adhesive glue, or the lean-to method with safety brackets, that is. Always check the weight limits on any adhesive product you consider, very carefully.
Wall Surface Type
Different wall surfaces react differently to adhesives. Smooth, painted drywall usually works well with most adhesive products. Textured walls, wallpaper, or brick might not provide a good enough surface for adhesive to bond properly. Some adhesives are made for specific surfaces, so read the labels, you know.
Room Conditions (Humidity, Temperature)
Think about where your mirror will hang. A bathroom, for instance, has high humidity and temperature changes. These conditions can weaken some adhesives over time. For bathrooms or outdoor spaces, you'll need an adhesive specifically made to handle moisture and varying temperatures, pretty much.
How Permanent Do You Need It?
Do you want to move the mirror later, or is it going to stay in one spot for a long time? If you want flexibility, adhesive strips are a good choice because they remove cleanly. If you're looking for a very long-term solution and don't mind potential wall damage upon removal, mirror adhesive glue offers a much stronger bond, you see.
Important Safety Tips
Hanging mirrors, especially without nails, needs a bit of care. Mirrors can be heavy and break easily, so safety should always come first, naturally.
Always have someone help you with larger mirrors. Trying to lift and place a big mirror by yourself can lead to accidents. Two sets of hands make the job much safer and easier, too.
Before you stick anything, do a small test. If you're unsure about an adhesive on your wall, try a small piece in an out-of-the-way spot first. This lets you see how it sticks and if it removes cleanly, basically.
Never overload an adhesive product. If the package says it holds up to 10 pounds, don't try to hang a 15-pound mirror with it. It's just not worth the risk of the mirror falling and breaking, or causing injury, you know.
Make sure the mirror is placed away from high-traffic areas if it's not super secure. If using the lean-to method, ensure it's in a spot where it won't be easily bumped or knocked over, very important.
For more general safety tips around the home, you might find useful information on sites like the National Safety Council, as a matter of fact.
Learn more about home decor solutions on our site, and for other handy tips, link to this page damage-free decorating ideas.
Frequently Asked Questions
Can I use command strips for a heavy mirror?
Command strips come in different weight ratings. For a heavy mirror, you need to use many strips, and they must be rated for the mirror's total weight. Always check the package for the maximum weight they can hold. For very heavy mirrors, other methods might be safer, you know.
What is the strongest adhesive for mirrors?
Special mirror adhesive glues are generally the strongest option for attaching mirrors without nails. These glues are made to bond very well with the mirror's backing and the wall. They offer a very firm hold. Brands like Liquid Nails Mirror Adhesive are good examples, basically.
How do you hang a mirror on a wall without damaging paint?
To hang a mirror without damaging paint, adhesive strips designed for clean removal are the best choice. These strips use a special adhesive that stretches off the wall without pulling paint. Always follow the product's removal instructions very carefully to avoid damage, you see.


Detail Author:
- Name : Prof. Javonte Graham IV
- Username : weissnat.mohamed
- Email : rice.dorthy@white.com
- Birthdate : 1989-06-17
- Address : 3302 Eliezer Mountains Apt. 939 Orphastad, ND 28314
- Phone : 986.583.9050
- Company : Macejkovic Group
- Job : Stone Cutter
- Bio : Nihil praesentium non et non. Ducimus aut nihil molestias consectetur quaerat sed. Architecto molestiae nihil placeat esse adipisci ut.
Socials
tiktok:
- url : https://tiktok.com/@goldner2000
- username : goldner2000
- bio : Accusamus provident velit ducimus rerum qui minima quod laudantium.
- followers : 5291
- following : 1183
instagram:
- url : https://instagram.com/emmy5362
- username : emmy5362
- bio : Natus id consequatur eaque quidem. Nulla eligendi qui autem.
- followers : 3333
- following : 1423
facebook:
- url : https://facebook.com/emmy4746
- username : emmy4746
- bio : Deleniti deleniti voluptate debitis quidem.
- followers : 6840
- following : 2495
