
Do you ever feel a pull to sketch those towering peaks, the ones that touch the sky and seem to hold so much story? Well, a lot of people feel that way, and it's pretty wonderful to bring those feelings to paper. Capturing the spirit of a mountain in a drawing, like your very own `mountains drawing`, really lets you express a sense of awe and quiet strength. It's about showing the world how you see these amazing parts of our planet.
There's a real joy in getting the shapes and shadows just right, making your artwork feel alive. Whether you are just starting out or you have been drawing for a while, there are always fresh ways to approach this subject. It's a helpful topic that will give you also the opportunity to have all of this, you know, at your fingertips.
Learning to create a compelling `mountains drawing` involves a few straightforward ideas, and actually, understanding a little bit about how mountains come to be can even help your art. We will look at some neat ways to make your mountain scenes pop, and we will talk about what makes them look so imposing and special, like their sheer size and ruggedness.
Table of Contents
- Understanding Mountain Shapes for Your Art
- Tools for Your Mountain Drawing
- Getting Started with Your Mountains Drawing
- Capturing Atmosphere and Light
- Common Questions About Mountains Drawing
- Taking Your Mountain Art Further
Understanding Mountain Shapes for Your Art
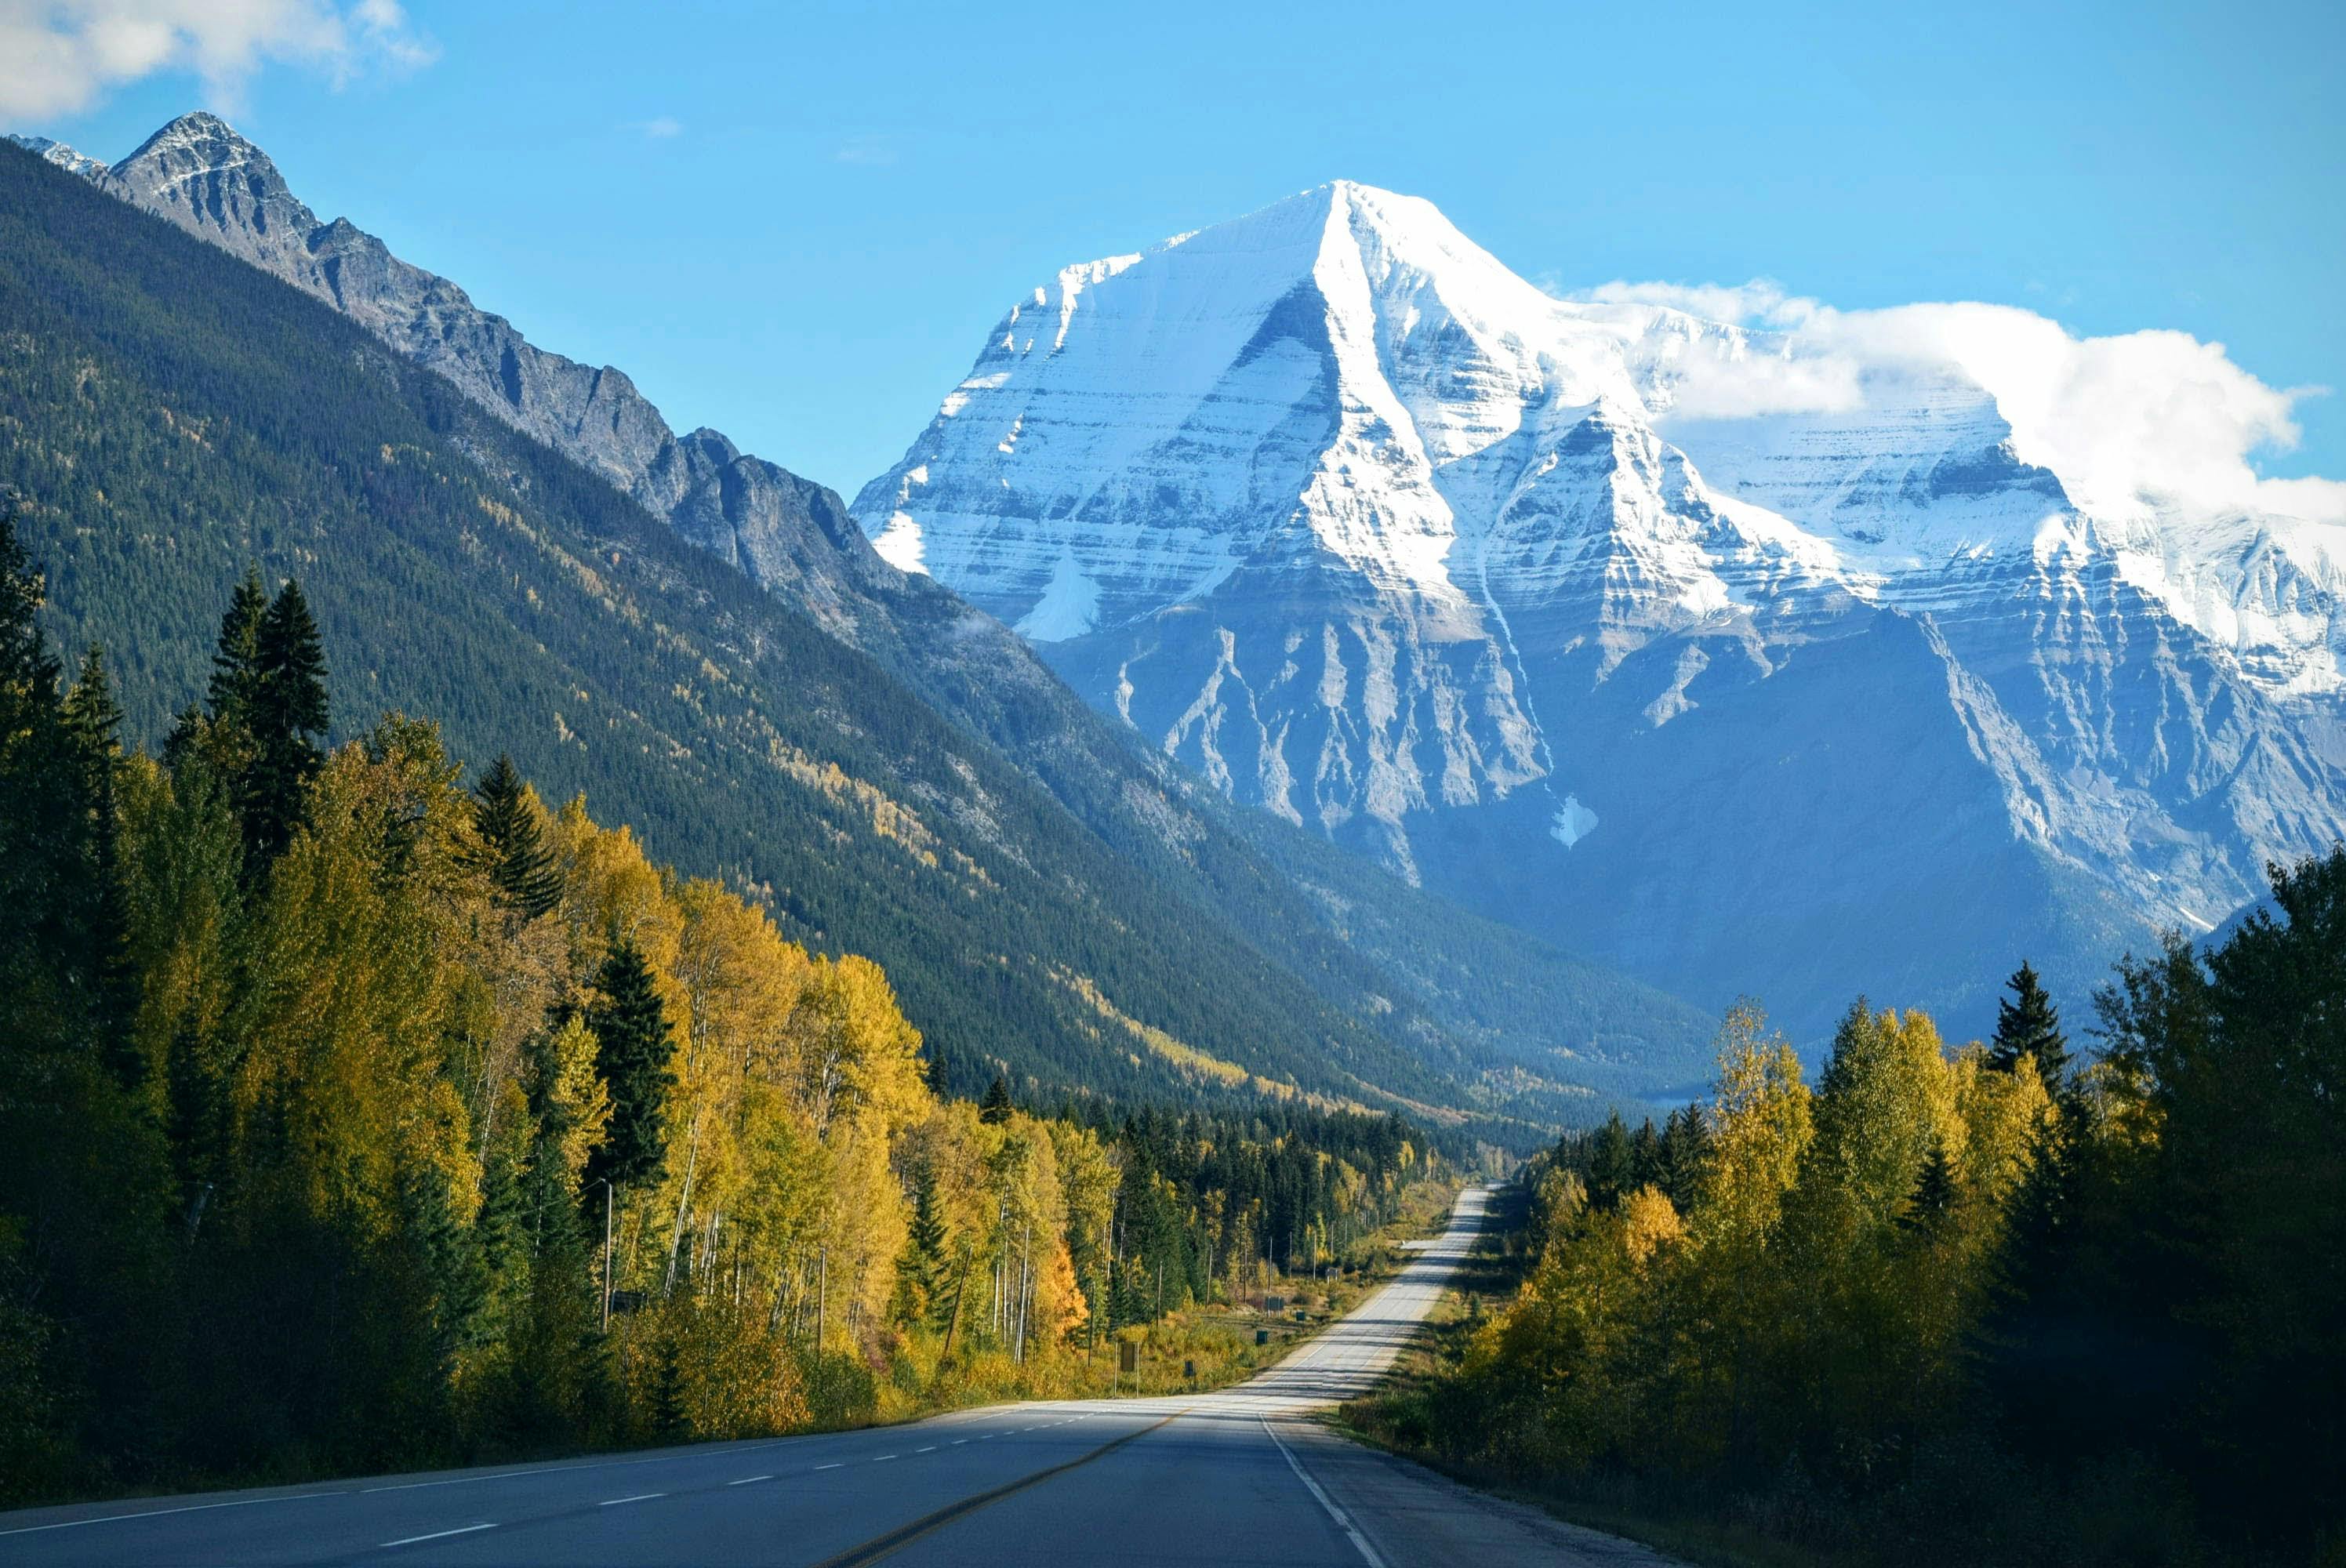
When you look at mountains, you see all sorts of different outlines, and that's because they form in various ways. For instance, some mountains have really sharp, jagged tops, and these are typically formed by things like tectonic activity, or maybe by erosion, and even volcanic activity. Tectonic forces can create folded and faulted rock layers, which gives them that distinct look, you know. Knowing this can help you decide how to make your `mountains drawing` feel real.
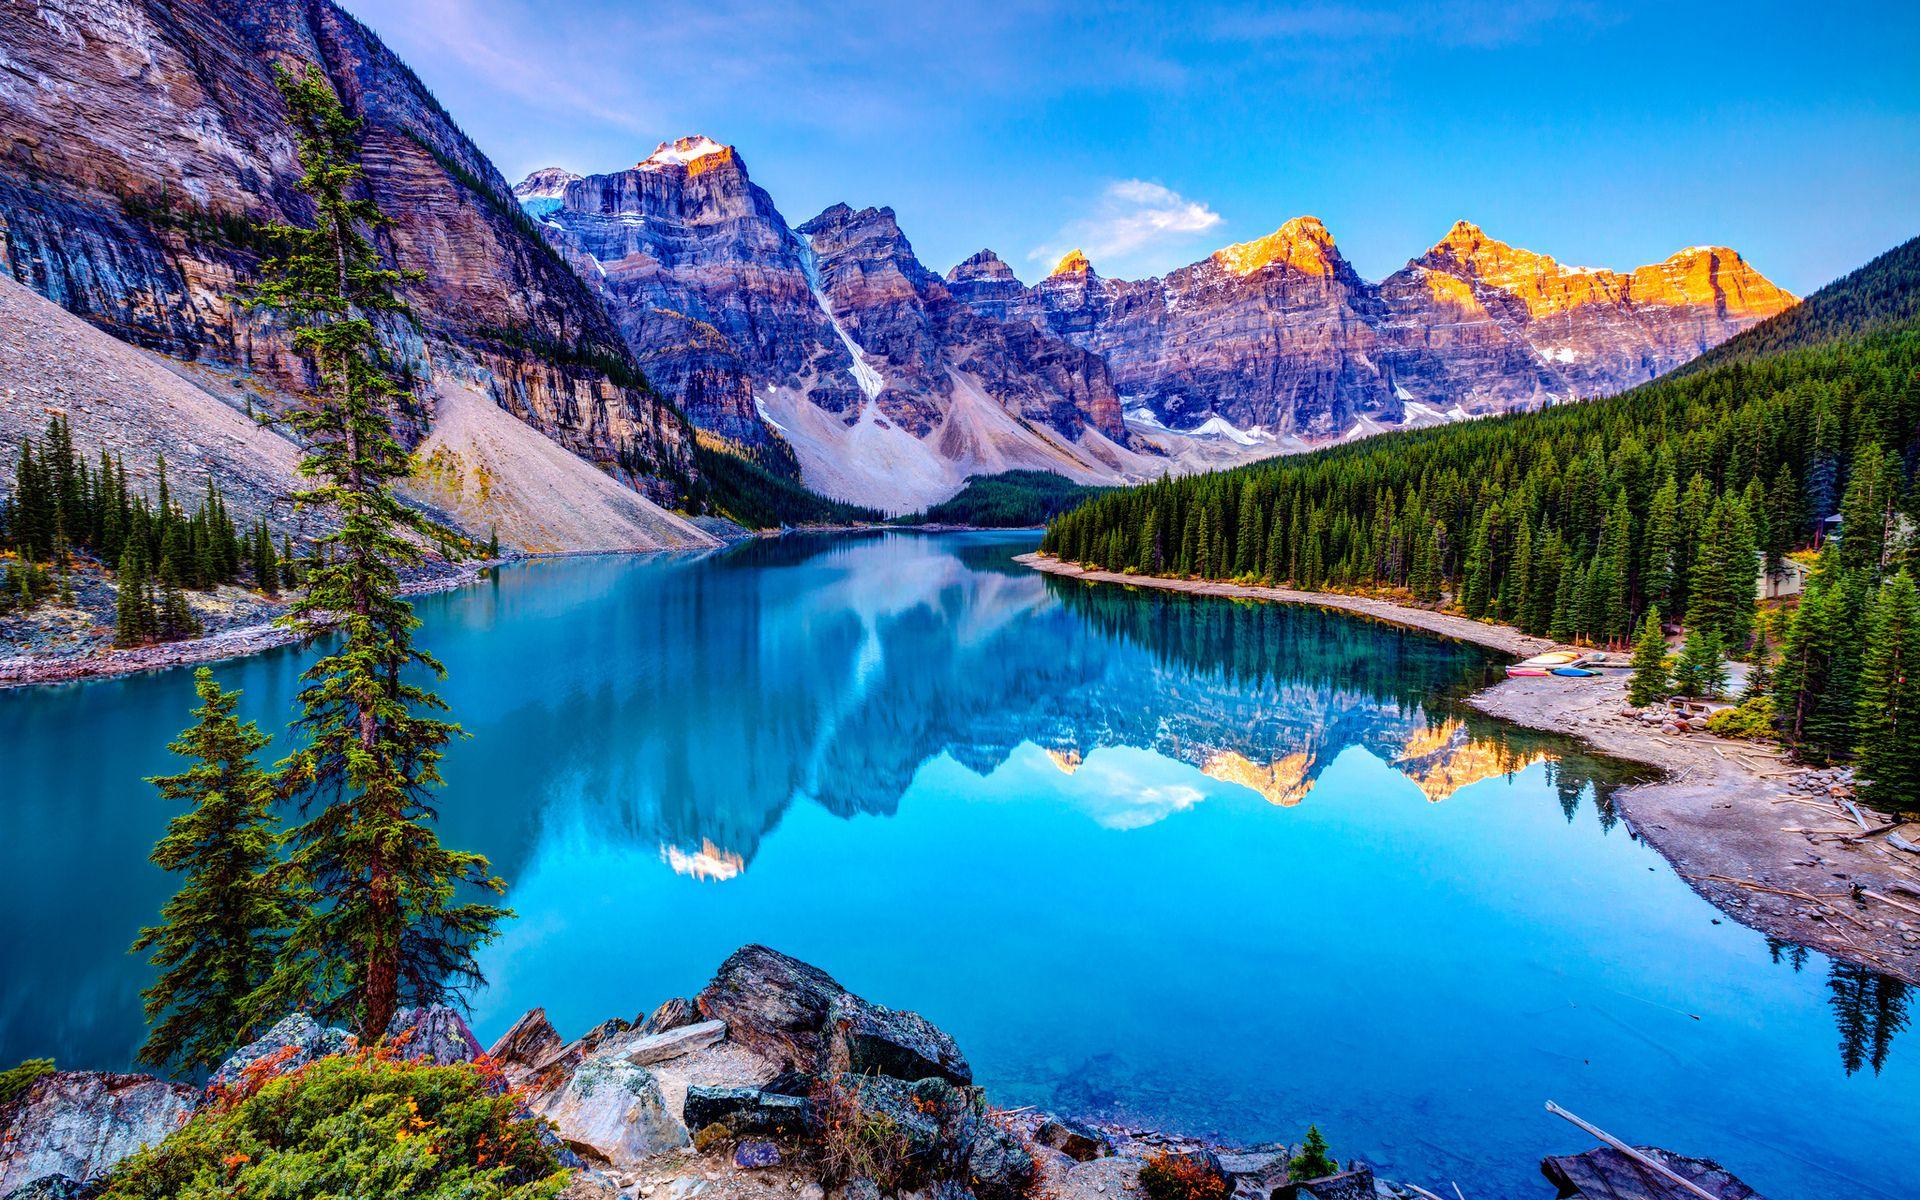
Folded mountains, for example, get their shape from the Earth's crust being pushed together, which makes the rock layers bend and change their form. Then there are fault block mountains, on the other hand, which come from blocks of the Earth's crust moving along cracks. Each type has its own visual language, so to speak, that you can show in your art. This kind of detail, you know, really makes a difference.
The way mountains are categorized, based on how tall they are and how much they stand out, also gives you ideas for drawing. You have major mountain ranges, individual peaks, and even volcanic mountains, each with their own unique look. Australia, for example, is generally a flat country, but it does have many mountain ranges, though they do not compare in height to those on other continents. So, you might draw them differently, perhaps a bit less imposing, to reflect that, more or less.
Tools for Your Mountain Drawing
You do not need a lot of fancy gear to start your `mountains drawing` adventure. Really, just a few simple items can get you going. It is pretty much about what you feel comfortable using, anyway.
Pencils: A good set of drawing pencils with different hardness levels (like 2H for light lines, HB for general sketching, and 2B or 4B for darker shading) is very helpful. This lets you get a good range of tones.
Paper: Any drawing paper will do to start, but something with a little bit of texture can sometimes make shading easier. You can try a medium-weight sketch paper.
Eraser: A kneaded eraser is really good for lifting graphite gently without smudging, and a regular plastic eraser is good for sharper clean-ups. They are quite useful, actually.
Blender: A blending stump or even a cotton swab can help smooth out your pencil marks, making shadows look softer. Some people just use their finger, too, but that can leave oils.
You can also explore other things, like charcoal for deep, dark tones or even digital tools if that is your thing. The main idea is to pick what feels good to you and just start making marks. It is honestly about having fun with it, you know.
Getting Started with Your Mountains Drawing
Beginning your `mountains drawing` can feel like a big step, but breaking it down into smaller parts makes it much more approachable. It is about building up the image bit by bit, kind of like how mountains themselves are built up over long periods. So, let us get into how to begin.
Basic Outlines and Forms
Start with the very basic shapes. Think of mountains as large triangles or trapezoids at first. Do not worry about perfection; these are just guides. You are simply placing where the big masses will be, you know, giving yourself a kind of map. Draw very lightly, so you can easily change things later.
Consider the horizon line too. Where it sits can really change how grand your mountains feel. If the horizon is low, your mountains will seem taller and more imposing. If it is higher, they might look more like hills or part of a broader view. This initial layout is quite important, you see, for the overall feel.
Remember that mountains are geological formations, which means they are physical things rather than a location or place. They are formed through tectonic processes such as plate movements. So, when you sketch these basic forms, you are basically outlining these massive, ancient structures. This helps in making your `mountains drawing` feel grounded and real, too.
Adding Depth with Shading
Shading is what gives your `mountains drawing` its sense of three dimensions. Think about where the light is coming from. Areas facing the light will be brighter, and areas in shadow will be darker. This contrast is what makes the forms pop out. Use your different pencils for this, from lighter ones for sunlit slopes to darker ones for deep crevices. It is really pretty simple, but makes a huge difference.
You can use different shading techniques, too. Hatching involves drawing parallel lines, cross-hatching uses intersecting lines, and blending creates smooth transitions. Experiment with these to see what effects you like best for different parts of the mountain. A bit of blending can make distant peaks look softer, for example. As a matter of fact, this is how many artists get that atmospheric feel.
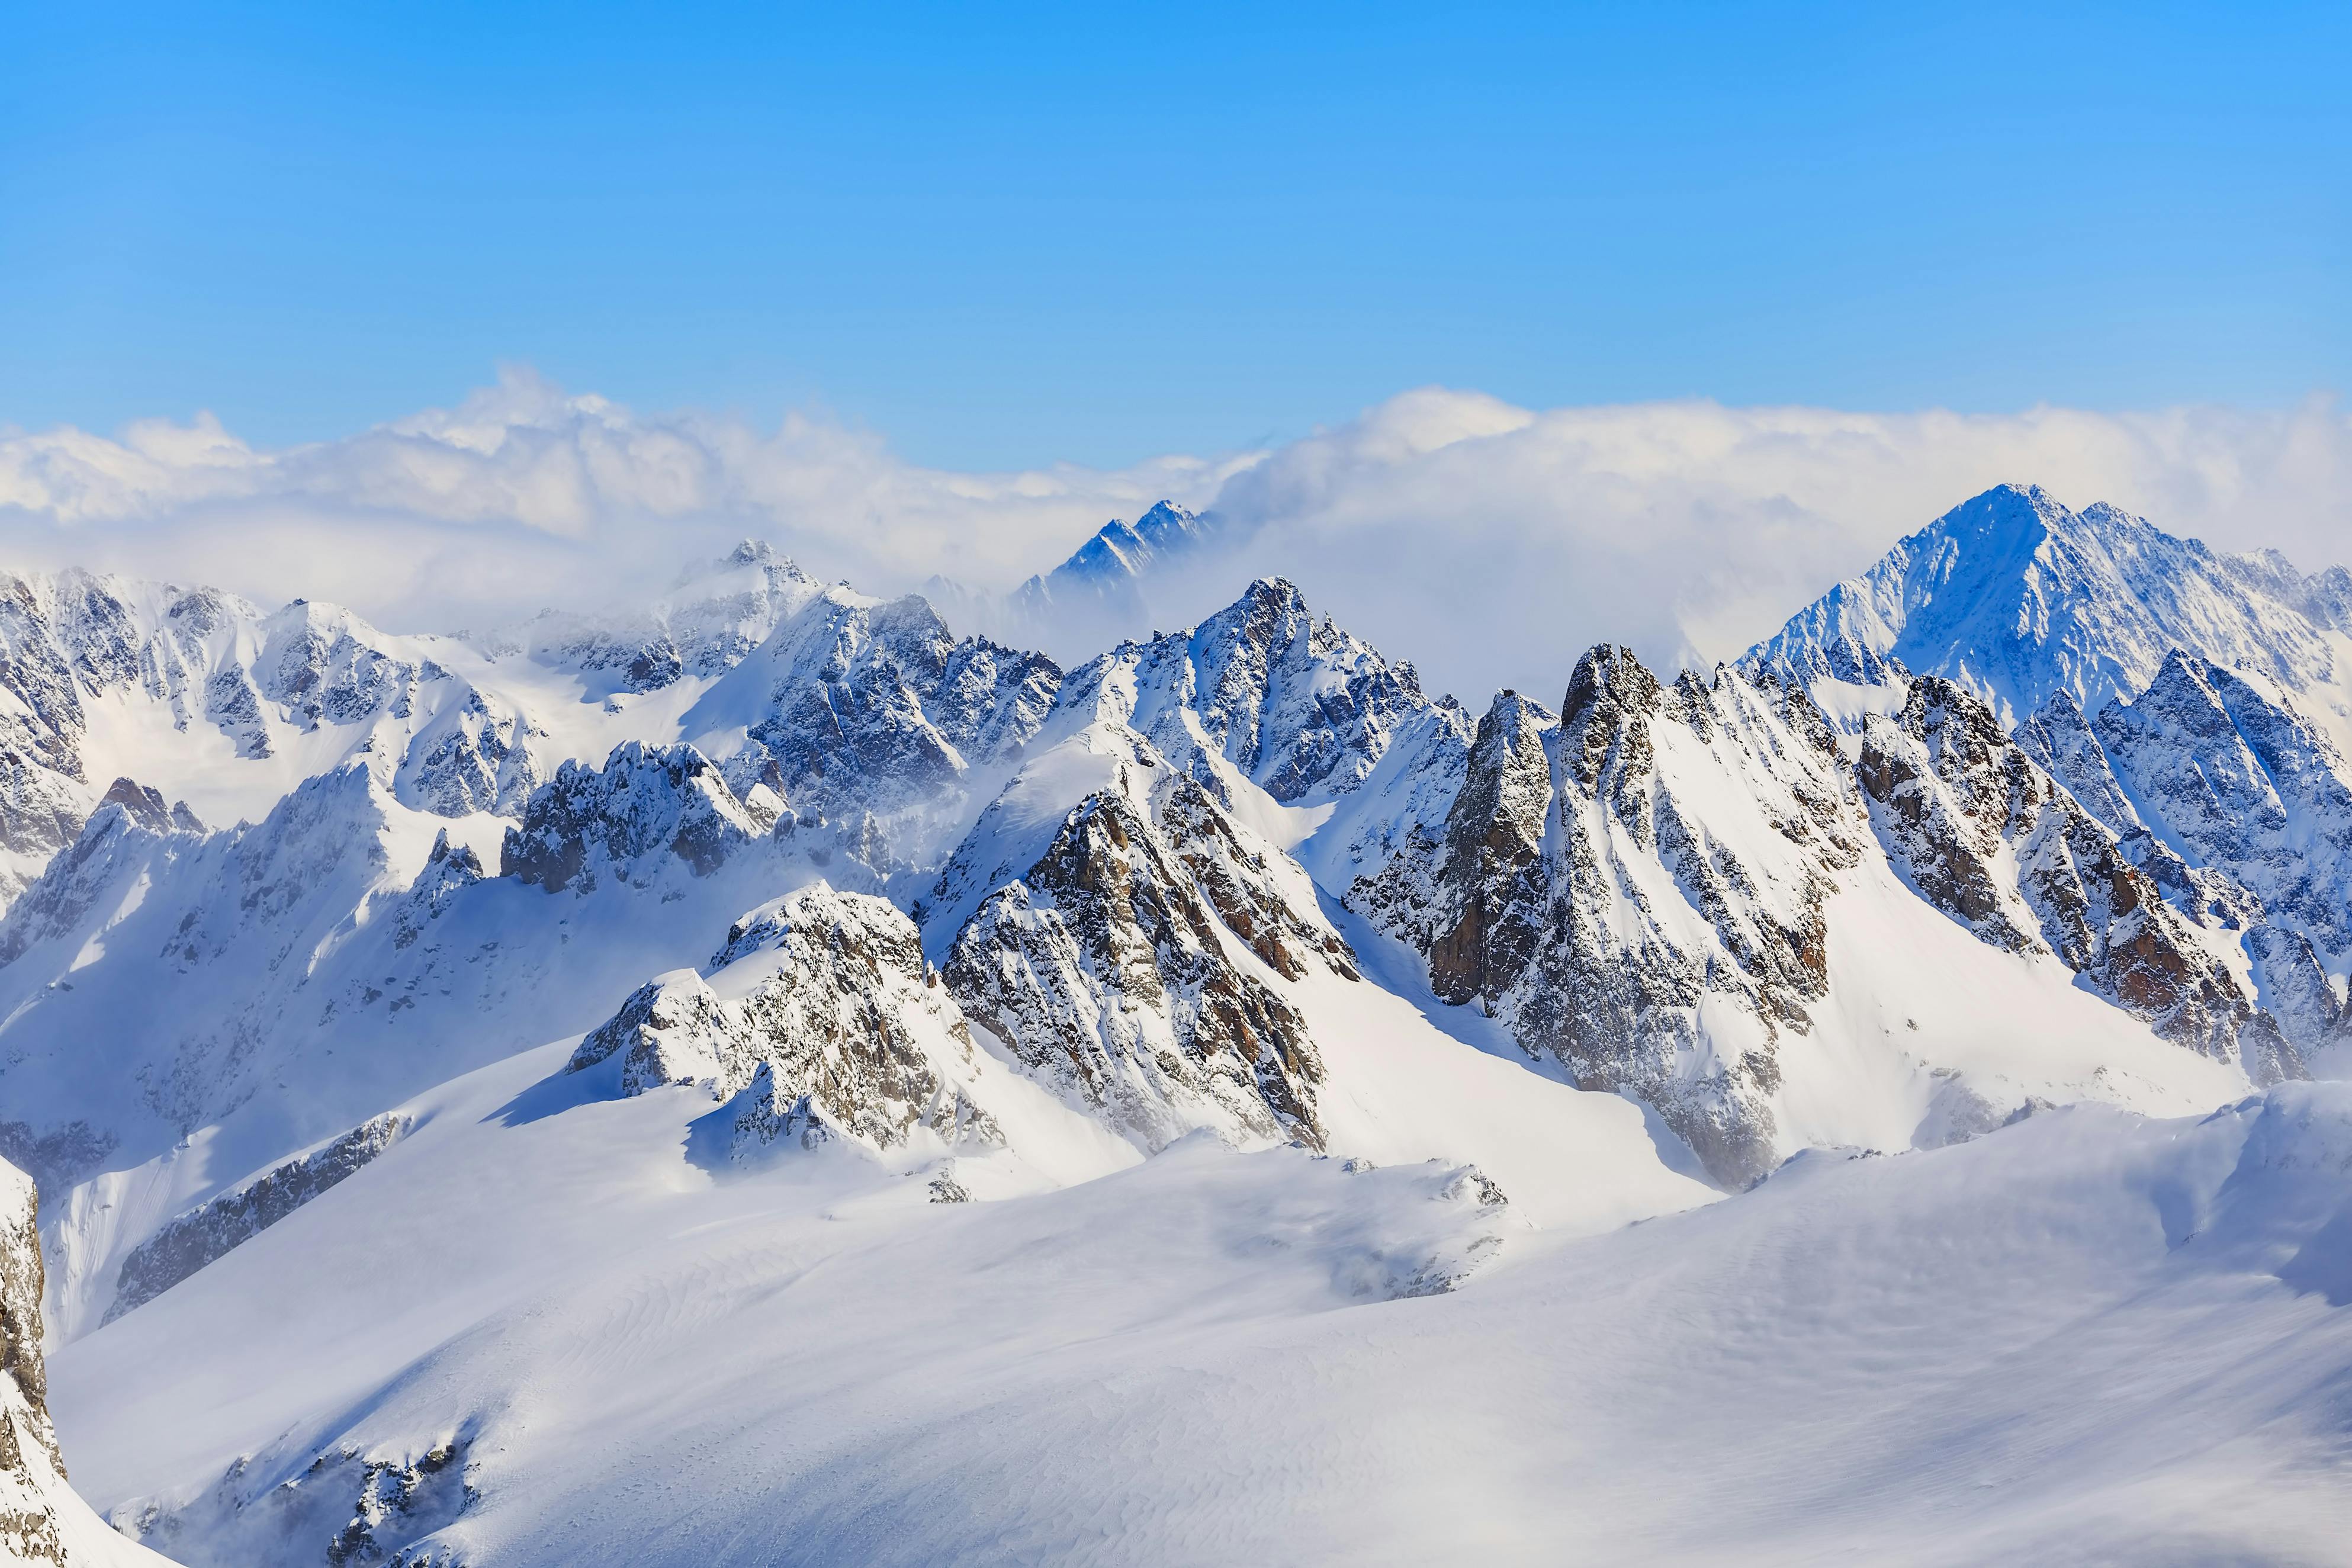
Mountains are colder than lower elevations because as altitude increases, the air pressure decreases, causing the air to expand and cool. This results in lower temperatures. This fact can actually inspire your shading; colder, higher parts might appear lighter due to snow or ice, or perhaps shrouded in mist, which you can show with subtle shading and lighter values. It adds a kind of truth to your `mountains drawing`, you know.
Creating Texture and Detail
Once you have your basic shapes and shading, you can start adding texture. This is where you really make your `mountains drawing` unique. Think about the rough surfaces of rocks, the jagged edges of cliffs, or the soft look of distant tree lines. You can use small, irregular marks to suggest rock faces or tiny squiggles for forested areas. Do not try to draw every single rock or tree; just suggest them.
For sharp and jagged mountains, which are typically formed by processes like tectonic activity and erosion, you can use sharper, more defined lines and a bit more contrast in your shading. For folded mountains, which are formed by the tectonic compression of crustal rocks, you might use smoother, flowing lines to show those bends and curves. It is all about observing and interpreting what you see, or what you know about how they form, really.
Adding small details, like tiny cracks or a hint of snow on the peaks, can make your drawing feel more believable. Just a little bit of detail can go a long way in making your `mountains drawing` feel complete. You do not need to overdo it, though, as too much detail can sometimes make the drawing look busy. Less is often more, in a way, with these kinds of things.
Capturing Atmosphere and Light
The air around mountains often plays a big part in how they look. Distant mountains can appear lighter and bluer because of the air between them and you. This is called atmospheric perspective, and it is a powerful tool in your `mountains drawing`. You can achieve this by making objects further away lighter in tone and with less detail. This creates a sense of depth and vastness, honestly.
Think about the time of day, too. Sunrise and sunset cast long, dramatic shadows and bathe the peaks in warm colors. Midday light is harsher, creating strong contrasts. Nighttime can turn mountains into dark, imposing silhouettes against a starry sky. The boiling point of a liquid is defined as when the vapour pressure of that liquid is equal to the atmospheric pressure, and on mountains, the air pressure is lower than at sea level, so it affects how things appear, you know, like light scattering.
The light source is absolutely key. Decide where your light is coming from and stick with it throughout your `mountains drawing`. This consistency makes your scene feel real and helps define the forms of the mountains. A strong light source can make even simple shapes look dramatic. It is pretty much like telling a story with light and shadow, and that is a very powerful thing to do.
Taking Your Mountain Art Further
Once you get comfortable with the basics, you can start adding other elements to your `mountains drawing`. Things like trees, clouds, or even small buildings can give your mountains a sense of scale and place. Consider adding water, like a lake or a river, at the base of your mountains; this can create beautiful reflections and add interest to your scene. You could also think about the compound noun rocky mountains, which is a proper noun, the name of a specific mountain range, and try to draw that specific one, for example.
Do not be afraid to experiment with different art supplies or techniques. Try colored pencils, pastels, or even paint to see how they change the feel of your mountain scenes. You might discover a new favorite way to create. Remember, the two types of faults that can result in mountains are thrust faults and normal faults. Thrust faults occur when older rock is pushed on top of younger rock, causing uplift, and these geological facts can inspire different textures or even dramatic cracks in your drawing, you know.
Keep practicing, and do not be afraid to make mistakes. Every line you draw, every shadow you place, helps you learn and grow as an artist. Your `mountains drawing` will get better and better with each attempt. There is so much to explore in mountain art, and it is a really rewarding path to take. You can learn more about mountain art on our site, and also check out this page for more drawing tips. For more on the geology of mountains, you can check out resources like National Geographic's explanation of mountains.
Detail Author:
- Name : Prof. Javonte Graham IV
- Username : weissnat.mohamed
- Email : rice.dorthy@white.com
- Birthdate : 1989-06-17
- Address : 3302 Eliezer Mountains Apt. 939 Orphastad, ND 28314
- Phone : 986.583.9050
- Company : Macejkovic Group
- Job : Stone Cutter
- Bio : Nihil praesentium non et non. Ducimus aut nihil molestias consectetur quaerat sed. Architecto molestiae nihil placeat esse adipisci ut.
Socials
tiktok:
- url : https://tiktok.com/@goldner2000
- username : goldner2000
- bio : Accusamus provident velit ducimus rerum qui minima quod laudantium.
- followers : 5291
- following : 1183
instagram:
- url : https://instagram.com/emmy5362
- username : emmy5362
- bio : Natus id consequatur eaque quidem. Nulla eligendi qui autem.
- followers : 3333
- following : 1423
facebook:
- url : https://facebook.com/emmy4746
- username : emmy4746
- bio : Deleniti deleniti voluptate debitis quidem.
- followers : 6840
- following : 2495
