
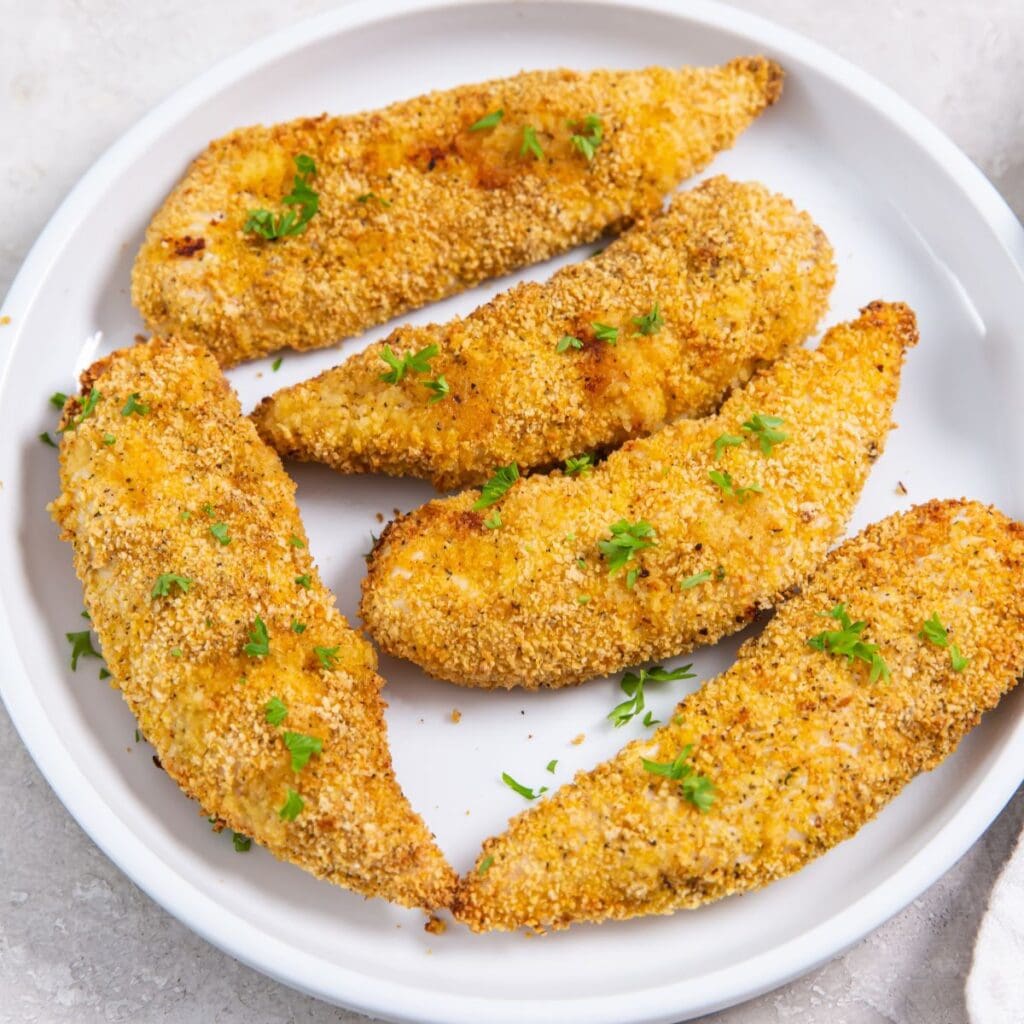
Are you craving those wonderfully crispy, tender chicken bites that just make your day better? You know, the kind that are quick to fix and taste absolutely amazing? Well, if you have some Applegate chicken tenders and an air fryer, you are, in a way, holding the secret to a really satisfying meal right in your hands. This guide is all about helping you get those tenders just right, making them a true delight for anyone at your table, every single time you cook them up.
It's a common wish for busy folks and families alike: a simple meal that feels like a treat, something that comes together without a lot of fuss. Applegate chicken tenders, with their wholesome goodness, are already a great pick. But when you introduce them to the magic of an air fryer, something special happens. They transform into golden, crunchy morsels that are just a joy to eat, and it's surprisingly easy to do, so.
Today, we're going to walk through all the steps, sharing some handy tips and tricks that will turn your kitchen into a little hub of deliciousness. You'll learn how to achieve that ideal crispiness without drying out the chicken, making sure every bite is as good as the last. It's really quite simple, and you'll be a pro in no time, honestly.
Table of Contents
- Why Applegate Tenders for Your Air Fryer?
- The Air Fryer Advantage for Chicken Tenders
- Getting Ready: What You Need
- Step-by-Step Cooking Guide
- Tips for Super Crispy Tenders
- Solving Common Cooking Issues
- Serving Suggestions and Tasty Pairings
- Making It Your Own: Flavor Variations
- Applegate Quality: A Closer Look
- Keeping Your Air Fryer Clean
- Frequently Asked Questions
- Your Next Delicious Meal Awaits
Why Applegate Tenders for Your Air Fryer?
Choosing Applegate chicken tenders is a good move for several reasons, you know. They are often made with quality ingredients, like chicken raised without antibiotics, which many people appreciate. This means you are starting with a product that already has a lot going for it, making your meal both simple and, in a way, a bit more wholesome.
These tenders are typically pre-cooked, which cuts down on your preparation time quite a bit. That's a huge plus for those busy weeknights when you need something fast but still want it to be good. The consistency of Applegate products also helps ensure that your cooking results are predictable, so you get great tenders pretty much every time, honestly.
Their natural shape and size are also just right for air frying. They cook evenly and get that lovely golden-brown finish that everyone enjoys. It's a convenient option that fits well into many different meal plans, providing a reliable and tasty base for lots of dishes, that.
The Air Fryer Advantage for Chicken Tenders
The air fryer has become a kitchen favorite for good reason, especially when it comes to things like chicken tenders. It uses hot air that moves around quickly to cook food, giving it a crispy outside that's very similar to deep frying, but with much less oil. This means you can enjoy that satisfying crunch without the extra grease, which is a big win for many, so.
One of the best things about using an air fryer for Applegate tenders is how fast it works. You don't have to wait for a big oven to heat up, and the cooking time itself is usually pretty short. This makes it perfect for a quick lunch or a dinner when time is just a little tight. Plus, it keeps your kitchen cooler than a traditional oven, which is nice on warmer days, you know.
The air fryer also does a great job of keeping the inside of the tenders juicy while getting the outside perfectly crisp. It's a balance that's sometimes hard to achieve with other cooking methods, but the air fryer seems to do it effortlessly. You get a delightful contrast in texture with every bite, making the tenders really enjoyable, in a way.
Getting Ready: What You Need
Before you start cooking, it's a good idea to gather everything you'll need. This makes the whole process smoother and more enjoyable. You won't be scrambling for tools mid-cook, which is always a plus, right?
- Applegate Chicken Tenders: Of course, these are the stars of our show. Make sure you have enough for everyone you're feeding.
- An Air Fryer: Any model will do, whether it's a basket style or an oven style. Just make sure it's clean and ready to go.
- Tongs: These are really handy for flipping the tenders safely and easily during cooking.
- Meat Thermometer: This is a key tool for checking that your chicken is cooked through to a safe temperature. It's a simple step that gives you peace of mind, obviously.
- Cooking Spray (Optional): A little bit of oil spray can help achieve an even crispier outside, but it's not always necessary, depending on your air fryer and how crispy you like things.
Having these items ready to hand means you can focus on the cooking itself. It's a small bit of preparation that makes a big difference in the overall experience, honestly.
Step-by-Step Cooking Guide
Cooking Applegate chicken tenders in your air fryer is a straightforward process, but following these steps will help ensure you get the best results. It's about getting the timing and temperature just right for that perfect texture, you know.
Prepping Your Air Fryer for Success
First things first, you want to get your air fryer warmed up. Preheating is a very important step that helps the tenders start cooking immediately when they go in, leading to a more even crisp. Set your air fryer to 400°F (200°C). Let it heat up for about 3 to 5 minutes. This little bit of waiting really does make a difference in the final crispiness, so.
While it's heating, you can lightly spray the air fryer basket or tray with a bit of cooking oil if you want extra crispness. This isn't always needed, as many Applegate tenders have a coating that crisps up well on its own. But a very light mist can help prevent sticking and give a golden-brown finish. Just make sure not to overdo it, as too much oil can create smoke, that.
A warm air fryer ensures that the tenders hit a hot surface right away, which helps to seal in the moisture and start the browning process quickly. It's a simple step, but it truly sets the stage for a great batch of tenders, honestly.
Arranging the Tenders Just Right
Once your air fryer is hot, it's time to place the Applegate chicken tenders inside. This part is pretty important for getting them evenly cooked and crispy. You want to arrange them in a single layer in the air fryer basket or on the tray. It's really key that they don't overlap or touch each other, more or less.
If the tenders are too crowded, the hot air can't circulate properly around each piece. This means some parts might end up soggy instead of crispy, and others might cook unevenly. If you have a lot of tenders, it's much better to cook them in separate batches. It might take a little longer overall, but the results will be much better, typically.
Giving each tender its own space allows the air to flow freely, ensuring that every side gets exposed to the heat. This is how you achieve that lovely, uniform crispness that everyone loves. It's a small detail that makes a big impact on the texture, you know.
The Ideal Cooking Time and Temperature
For Applegate chicken tenders, a good starting point is to cook them at 400°F (200°C) for about 8 to 12 minutes. The exact time can vary a little depending on your specific air fryer model and how many tenders you're cooking. Smaller, thinner tenders might cook faster, while thicker ones will need a bit more time, pretty much.
It's always a good idea to check on them as they cook, especially towards the end of the suggested time. You can always add a minute or two if they need a bit more crisping up. The goal is a beautiful golden-brown color and a crispy exterior, you see. Don't be afraid to peek in and see how they're doing, that.
Remember, air fryers can vary, so what works perfectly in one might need a slight adjustment in another. Think of the recommended time as a guide, and let your eyes and nose help you decide when they're truly ready. You'll get a feel for your machine quickly, in a way.
Flipping for Even Crispiness
To ensure that your Applegate chicken tenders get wonderfully crispy all over, it's a good idea to flip them halfway through the cooking process. So, if you're cooking them for 10 minutes total, you would flip them after about 5 minutes. This helps both sides get that direct exposure to the hot circulating air, you know.
Use your tongs for this step. They make it easy to turn each tender without burning your fingers. Flipping ensures that the heat is evenly distributed, preventing one side from becoming super crispy while the other remains a bit soft. It's a simple action that makes a big difference in the final texture, honestly.
This little flip helps achieve that desirable golden-brown color and satisfying crunch on all sides. It's a key part of getting those tenders perfectly done, making sure there are no sad, pale spots. Every bit of the tender should be a joy to bite into, that.
Checking for Doneness and Safety
Even though Applegate chicken tenders are typically pre-cooked, it's always smart to make sure they are heated through to a safe temperature. The internal temperature should reach 165°F (74°C). You can check this with a meat thermometer by inserting it into the thickest part of a tender, you know.
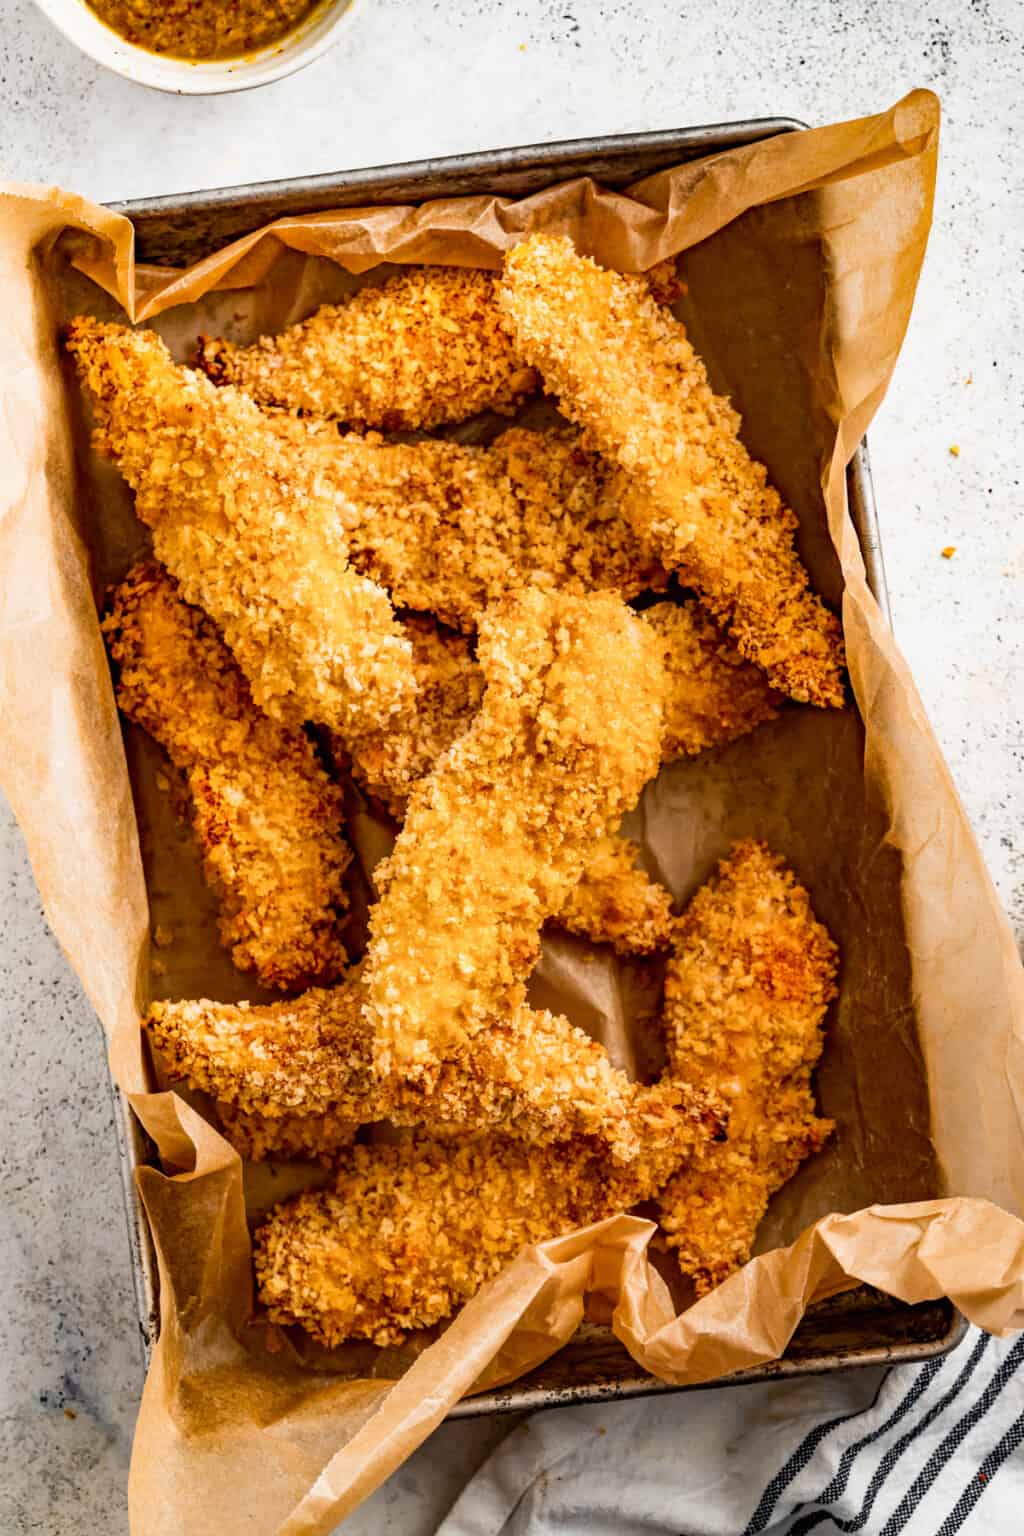
Once they reach that temperature and look nicely golden and crispy on the outside, they are ready to come out of the air fryer. If they aren't quite there yet, you can put them back in for another minute or two and check again. It's better to be safe and ensure they are properly heated, pretty much.
After taking them out, it's a good idea to let them rest for a minute or two before serving. This allows the juices to settle, making the tenders even more tender and delicious. It's a small waiting period that really pays off in taste and texture, so.
Tips for Super Crispy Tenders
Everyone loves a really crispy chicken tender, right? Here are a few extra tips that can help you achieve that perfect crunch with your Applegate tenders in the air fryer. These little tricks can make a big difference, honestly.
- Don't Overcrowd the Basket: This is arguably the most important tip. Giving each tender enough space ensures proper air circulation. If you cram too many in, they'll steam instead of crisp, leaving you with a softer result. Cook in batches if you need to, you know.
- A Little Oil Spray Goes a Long Way: While not always necessary, a very light mist of cooking oil on the tenders before air frying can really boost the crispiness. It helps create that golden, crunchy exterior. Just a tiny bit is enough, that.
- Shake or Flip Regularly: As mentioned, flipping halfway through is key. For smaller tenders, you might even give the basket a gentle shake a couple of times to move them around and ensure all sides get even exposure to the hot air.
- Preheat Your Air Fryer: We talked about this, but it's worth repeating. A preheated air fryer helps the tenders start crisping up immediately. Don't skip this step if you're aiming for maximum crunch, okay.
- Don't Open Too Often: While it's good to check, try not to open the air fryer basket constantly. Each time you open it, you let out hot air, which can extend the cooking time and affect the crisping process. Peek quickly, then close it up, so.
- Consider a Rest: Letting the tenders rest for a minute or two after cooking can help them firm up and retain their crispiness. It's a small pause that helps them settle, virtually.
By keeping these points in mind, you'll be well on your way to making Applegate chicken tenders that are delightfully crispy on the outside and tender on the inside, every single time. It's really quite satisfying, you know.
Solving Common Cooking Issues
Even with the best instructions, sometimes things don't go exactly as planned. But don't worry, most common air fryer tender issues are pretty easy to fix. Knowing what to do can save your meal, you know.
- Tenders Not Crispy Enough:
- Problem: They're soft or a bit soggy.
- Solution: You might have overcrowded the basket. Try cooking fewer tenders at a time. Also, ensure your air fryer was fully preheated. A quick spray of oil can also help. You can put them back in for another 2-3 minutes at 400°F (200°C) to crisp them up, pretty much.
- Dry Tenders:
- Problem: The chicken feels tough or lacks juiciness.
- Solution: They might have cooked for too long. Next time, try reducing the cooking time by a minute or two. Remember, Applegate tenders are often pre-cooked, so they just need to be heated through and crisped. Use a meat thermometer to avoid overcooking, you know.
- Uneven Cooking:
- Problem: Some tenders are done, others aren't, or one side is crispier.
- Solution: This usually means they weren't spread out enough, or you didn't flip them. Make sure they are in a single layer with space between them. Flipping them halfway through the cooking time is really important for even results, that.
- Smoking Air Fryer:
- Problem: Your air fryer is producing smoke.
- Solution: This can happen if there's too much oil, or if old food bits are burning. Clean your air fryer basket and tray thoroughly between uses. If you're using oil spray, use it very sparingly. Sometimes, fatty foods can also cause smoke, so just be aware, okay.
Addressing these little hiccups means you can keep enjoying perfectly cooked Applegate chicken tenders. It's all part of getting to know your air fryer and how it works best for you, in a way.
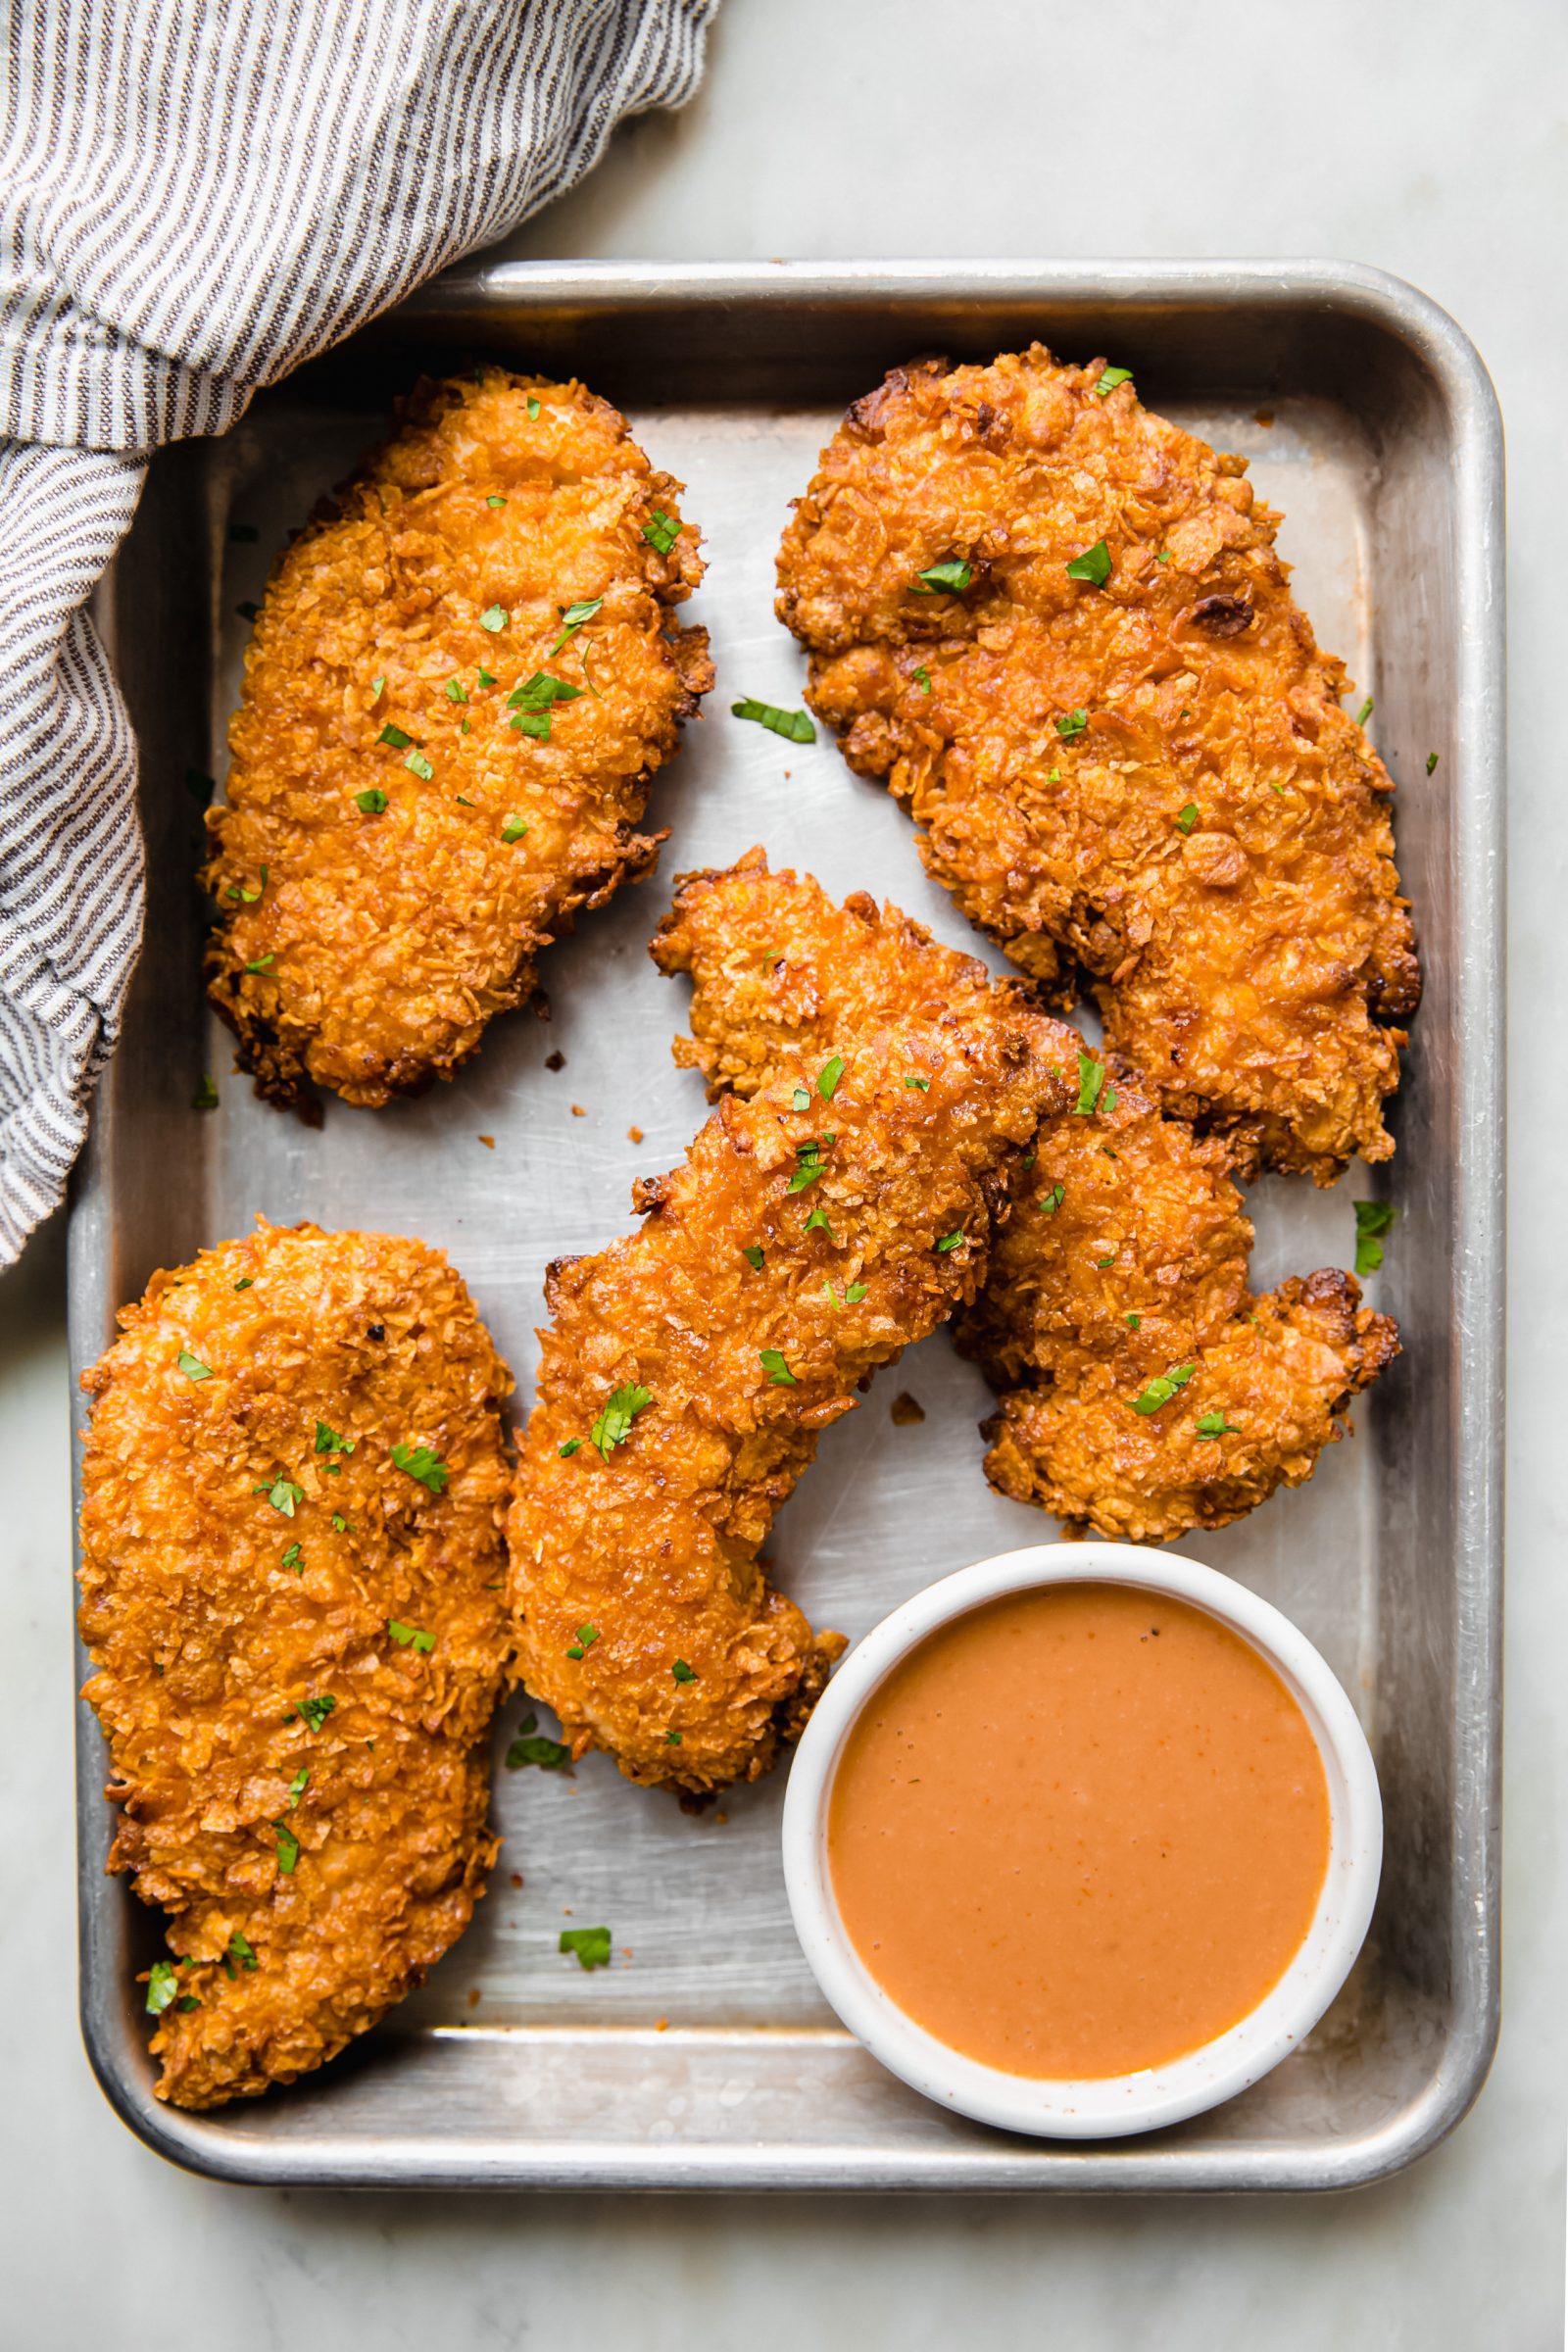
Serving Suggestions and Tasty Pairings
Once your Applegate chicken tenders are perfectly air-fried, the fun really begins with how you serve them. They are incredibly versatile and can be the star of many different meals. Here are some ideas to get your taste buds excited, you know.
- Dipping Sauces Galore:
- Classic Ketchup: Always a crowd-pleaser, especially for the younger eaters.
- Tangy BBQ Sauce: A smoky, sweet, or spicy BBQ sauce adds a lot of character.
- Creamy Ranch: The cool, herby flavor of ranch dressing is a perfect match for crispy chicken.
- Honey Mustard: A lovely balance of sweet and savory that works so well.
- Spicy Sriracha Mayo: For those who like a little kick, mix sriracha with mayonnaise, that.
- Garlic Aioli: A rich, flavorful option that feels a bit fancy but is simple to get.
- Wonderful Side Dishes:
- Air Fryer Fries or Tater Tots: Keep the air fryer theme going with perfectly crispy potato sides.
- Fresh Green Salad: A light, crisp salad with a vinaigrette dressing offers a nice contrast.
- Steamed or Roasted Vegetables: Broccoli, green beans, or carrots make for a healthy and colorful addition.
- Macaroni and Cheese: A comforting classic that pairs beautifully with tenders, obviously.
- Coleslaw: The creamy, crunchy texture of coleslaw is a great companion.
- Rice or Quinoa: For a more filling meal, serve them alongside a bed of fluffy rice or protein-rich quinoa, pretty much.
- Creative Meal Ideas:
Detail Author:
- Name : Dannie Barton
- Username : chelsey21
- Email : miller.collins@johns.com
- Birthdate : 1997-08-06
- Address : 9717 Ryan Curve New Avaborough, MA 75885-6813
- Phone : 341-900-4502
- Company : Morissette and Sons
- Job : Mathematical Scientist
- Bio : Nobis unde ut officiis occaecati nam quia eveniet. Nostrum qui cum eveniet maxime voluptas. Tempora voluptatem laboriosam aut voluptas quo.
Socials
instagram:
- url : https://instagram.com/charles869
- username : charles869
- bio : Labore rerum unde repellat et laborum. Eligendi et aut rerum. Sed eius placeat sint magni dicta.
- followers : 3142
- following : 515
linkedin:
- url : https://linkedin.com/in/charlesklein
- username : charlesklein
- bio : Eligendi quis nihil atque.
- followers : 3828
- following : 2461
tiktok:
- url : https://tiktok.com/@charles.klein
- username : charles.klein
- bio : Laudantium est hic temporibus cumque officia.
- followers : 1461
- following : 923
facebook:
- url : https://facebook.com/charles_real
- username : charles_real
- bio : Architecto quos eaque consequuntur magni esse voluptatem accusantium.
- followers : 843
- following : 1744
