
Feeling a chilly breeze creeping in even when your door is shut tight? Perhaps you have noticed your heating or cooling system working extra hard, or maybe you are just tired of those tiny, unwelcome guests like dust and little insects making their way inside. Well, that feeling of discomfort, that slight draft, it can actually be costing you quite a bit of money over time. It is a very common issue for many homes, and it often goes unnoticed, or people just put up with it, thinking there is not much to do.
But there is a simple, quite effective solution that can make a real difference, both for your comfort and your wallet. It is called weather stripping, and it is a material that helps seal those tiny gaps around your doors. Think of it as a quiet guardian, keeping the elements out and your comfortable indoor air right where it belongs. It is not a terribly difficult job to do, and the rewards, they are pretty significant, you know?
This guide is here to walk you through the whole process of applying weather stripping to door openings. We will look at why it matters, what kinds of materials you might use, and how to put them on correctly. So, if you are ready to make your home a bit more snug, a little more energy-efficient, and generally more pleasant, then stick with us. We will help you get those doors sealed up right, perhaps even before the next cold snap hits, or when the heat starts to really climb.
Table of Contents
- Why Bother with Weather Stripping?
- What Kind of Weather Stripping Works Best?
- Getting Ready: What You'll Need
- Checking Your Door for Leaks
- Step-by-Step Guide to Applying Weather Stripping to Door
- Troubleshooting Common Issues
- Tips for Long-Lasting Results
- Frequently Asked Questions About Weather Stripping
Why Bother with Weather Stripping?
You might wonder, you know, why go through the effort of applying weather stripping to door frames? It seems like a small detail, but the impact, it is actually quite big. It is about more than just keeping the cold out; it is about creating a more efficient and comfortable living space, and that is something everyone can appreciate, really.
Save Money on Bills
One of the biggest reasons people choose to add weather stripping is to keep more money in their pockets. When you have gaps around your doors, your heating and cooling systems have to work much harder to maintain the temperature inside. That means they are using more energy, and that energy, it costs money. By sealing those leaks, you are essentially putting a stop to energy waste.
When you think about making your home more efficient, it's a bit like managing resources wisely, you know? It's about making sure what you have goes as far as it can. There's this idea, really, that resources are plentiful when they are not wasted, when they are handled with care and honesty, you might say. This thought, it actually brings to mind a powerful idea from a leader who once spoke about how "money is enough when no one steals." It's a similar principle here, just for your home's warmth and comfort. By sealing up those sneaky gaps, you are, in a way, making sure your energy isn't stolen by the outside air, and so, your money stays with you.
So, by applying weather stripping to door openings, you are making your home’s energy use more efficient, and that will show up as lower amounts on your monthly utility bills. It is a pretty simple upgrade that can lead to some noticeable savings over time, which is, you know, a very good thing for anyone looking to save a little cash.
Boost Home Comfort
Beyond the financial aspect, there is the immediate benefit of feeling more comfortable in your own home. Drafts can make a room feel much colder than it actually is, forcing you to turn up the thermostat. Or, in the warmer months, hot air can seep in, making your air conditioning struggle. Weather stripping creates a tighter seal, which helps maintain a more consistent temperature throughout your living areas.
This means no more cold spots near the door, no more feeling like you are sitting in a wind tunnel when you are just trying to relax. It makes your home feel cozier, warmer in winter, and cooler in summer. It is a subtle change, perhaps, but one that really adds to the overall pleasantness of your living space. You might find yourself just feeling more at ease, which is quite nice.
Keep Out Pests and Noise
Those small gaps around doors are not just for air; they are also an open invitation for all sorts of unwelcome things. Little insects, dust, pollen, and even outside noise can sneak through those tiny openings. Applying weather stripping to door frames can help create a physical barrier against these intrusions, keeping your indoor environment cleaner and quieter.
Imagine less dust settling on your furniture, fewer bugs crawling in, and a noticeable reduction in street sounds or neighborly chatter. It helps create a more peaceful and healthier home atmosphere. This is especially true if you live in an area with a lot of outdoor activity or if you are prone to allergies. It is a bit like putting up a quiet shield around your personal space, you know?
What Kind of Weather Stripping Works Best?
When you are thinking about applying weather stripping to door frames, you will find there are several types to pick from, and each one has its own strengths. The best choice for you really depends on the specific door, the size of the gap you need to seal, and how much wear and tear the area gets. It is a good idea to understand the different options before you head to the store.
V-Strip or Tension Seal
This type of weather stripping, also known as a tension seal, is made of plastic or metal and shaped like a "V." It works by compressing when the door closes, creating a tight seal. It is often self-adhesive, making it pretty simple to put on. This kind is especially good for sealing gaps along the sides and top of a door frame.
It is quite durable and can last for many years without needing much attention. The V-strip is a good choice for those who want a long-term solution that is not very noticeable once it is installed. It is rather effective at blocking drafts, and you can find it in various colors to match your door frame, too.
Foam Tape
Foam tape is probably one of the most common and easiest types to use when you are applying weather stripping to door openings. It is a compressible foam strip with an adhesive backing. You just peel off the backing and stick it to the door frame where the gaps are. It is very forgiving, which is nice for beginners.
While it is simple to install, foam tape might not be as durable as some other options, especially in high-traffic areas. It can compress over time and lose some of its sealing power. So, you might need to replace it more often, perhaps every year or two, depending on how much your door is used. It is a good temporary fix or for areas with smaller, less severe drafts.
Door Sweep
A door sweep is a long strip, usually made of metal or plastic with a brush or rubber seal attached, that gets fastened to the bottom of the door. Its job is to seal the gap between the bottom of the door and the threshold. This is a very common spot for drafts, as well as for dust and insects to get in.
Installing a door sweep usually involves screwing it into the bottom of the door, so it is a bit more involved than just sticking something on. However, it provides a very effective barrier for that often-overlooked area. There are different styles, some that are visible and some that are hidden, so you can pick what works best for your door’s look.
Door Shoe
Similar to a door sweep, a door shoe also goes on the bottom of the door, but it typically wraps around the bottom edge, forming a U-shape. It often has one or more fins or sweeps that press against the threshold to create a seal. This type offers a very strong seal and can also help protect the bottom edge of the door from moisture.
Door shoes are generally more robust and durable than simple door sweeps. They are a great choice for exterior doors where you need a really tight seal against harsh weather. Installation can be a little more involved, sometimes requiring the door to be removed, but the long-term benefits are usually worth the extra effort, you know.
Tubular or Bulb Type
This kind of weather stripping looks like a hollow tube or bulb when it is not compressed. It is usually made of vinyl or rubber and is designed to create a very tight seal when the door closes against it. It is often installed into a groove in the door frame or simply nailed or stapled into place.
Tubular weather stripping is very good at resisting wear and tear and can handle a lot of compression without losing its shape. It is a durable option that provides an excellent seal against drafts and moisture. It is a bit more noticeable than some other types, but its performance is really quite good, especially for doors that see a lot of use.
Felt Weather Stripping
Felt weather stripping is one of the older and more traditional types. It is made of felt material and is usually nailed or stapled into the door frame. It is relatively inexpensive and easy to install. However, it is not as durable or as effective at sealing as some of the more modern options.
Felt can compress and wear out relatively quickly, especially in high-traffic areas. It is perhaps best suited for very old doors where other types might not fit well, or for interior doors where only a slight draft needs to be addressed. It is a bit of a classic, but there are usually better performing choices available today.
Getting Ready: What You'll Need
Before you start applying weather stripping to door frames, it is a good idea to gather all your tools and materials. Having everything ready beforehand will make the job go much smoother and help you avoid interruptions. It is like preparing for any small project around the house, you know, a little planning goes a long way.
Tools for the Job
- **Measuring Tape:** You will need this to get accurate lengths for your weather stripping.
- **Scissors or Utility Knife:** For cutting the weather stripping to size. A utility knife is especially good for thicker materials.
- **Pencil:** To mark your measurements.
- **Cleaning Supplies:** A rag, some mild soap, and water or rubbing alcohol to clean the door frame.
- **Screwdriver or Drill:** If you are installing a door sweep or a door shoe that requires screws.
- **Hammer and Small Nails/Staple Gun:** If you are using felt weather stripping or a type that needs fasteners.
- **Caulk Gun (Optional):** For sealing any larger gaps around the door frame itself, not just the door opening.
Materials to Have Handy
- **The Chosen Weather Stripping:** Make sure you have enough length for all the sides of your door that need sealing, plus a little extra for mistakes.
- **Replacement Screws/Nails (if needed):** Sometimes the ones that come with the weather stripping are not quite right, or you might lose one.
- **Work Gloves:** To protect your hands, especially if you are using a utility knife.
- **Safety Glasses:** Always a good idea when cutting or drilling.
Having these items close by will really help you stay focused and get the job done efficiently. It is a bit like having all your ingredients ready before you start cooking, you know?
Checking Your Door for Leaks
Before you start applying weather stripping to door openings, it is very important to figure out exactly where the drafts are coming from. You do not want to just put weather stripping everywhere if it is not needed, and you definitely want to make sure you are addressing the actual problem spots. There are a few simple ways to check for those sneaky leaks, and they do not require any fancy equipment, either.
The Dollar Bill Test
This is a classic and very simple way to check for air leaks around your door. Just open the door and place a dollar bill (or any piece of paper, really) between the door and the frame. Then, close the door. If you can easily pull the bill out, it means there is a gap there that is letting air through. If the bill is held tightly, then that spot is probably sealed pretty well.
Go around the entire perimeter of the door with this test – the top, both sides, and even the bottom if you can manage it. This will give you a good idea of where your biggest problems are. It is a surprisingly effective way to pinpoint those weak spots, you know, where the air might be sneaking in.
The Smoke Test
For a more visual approach, you can try the smoke test. Light an incense stick or a small candle (be very careful with open flames, of course) and slowly move it around the edges of your closed door. If the smoke wavers, blows inward, or gets sucked outward, that is a clear sign of an air leak.
This test is particularly good for showing you the direction of the draft, which can sometimes help you understand the extent of the problem. Just make sure there are no strong fans or open windows creating artificial air currents that might skew your results. It is a rather telling way to see the invisible air movement.
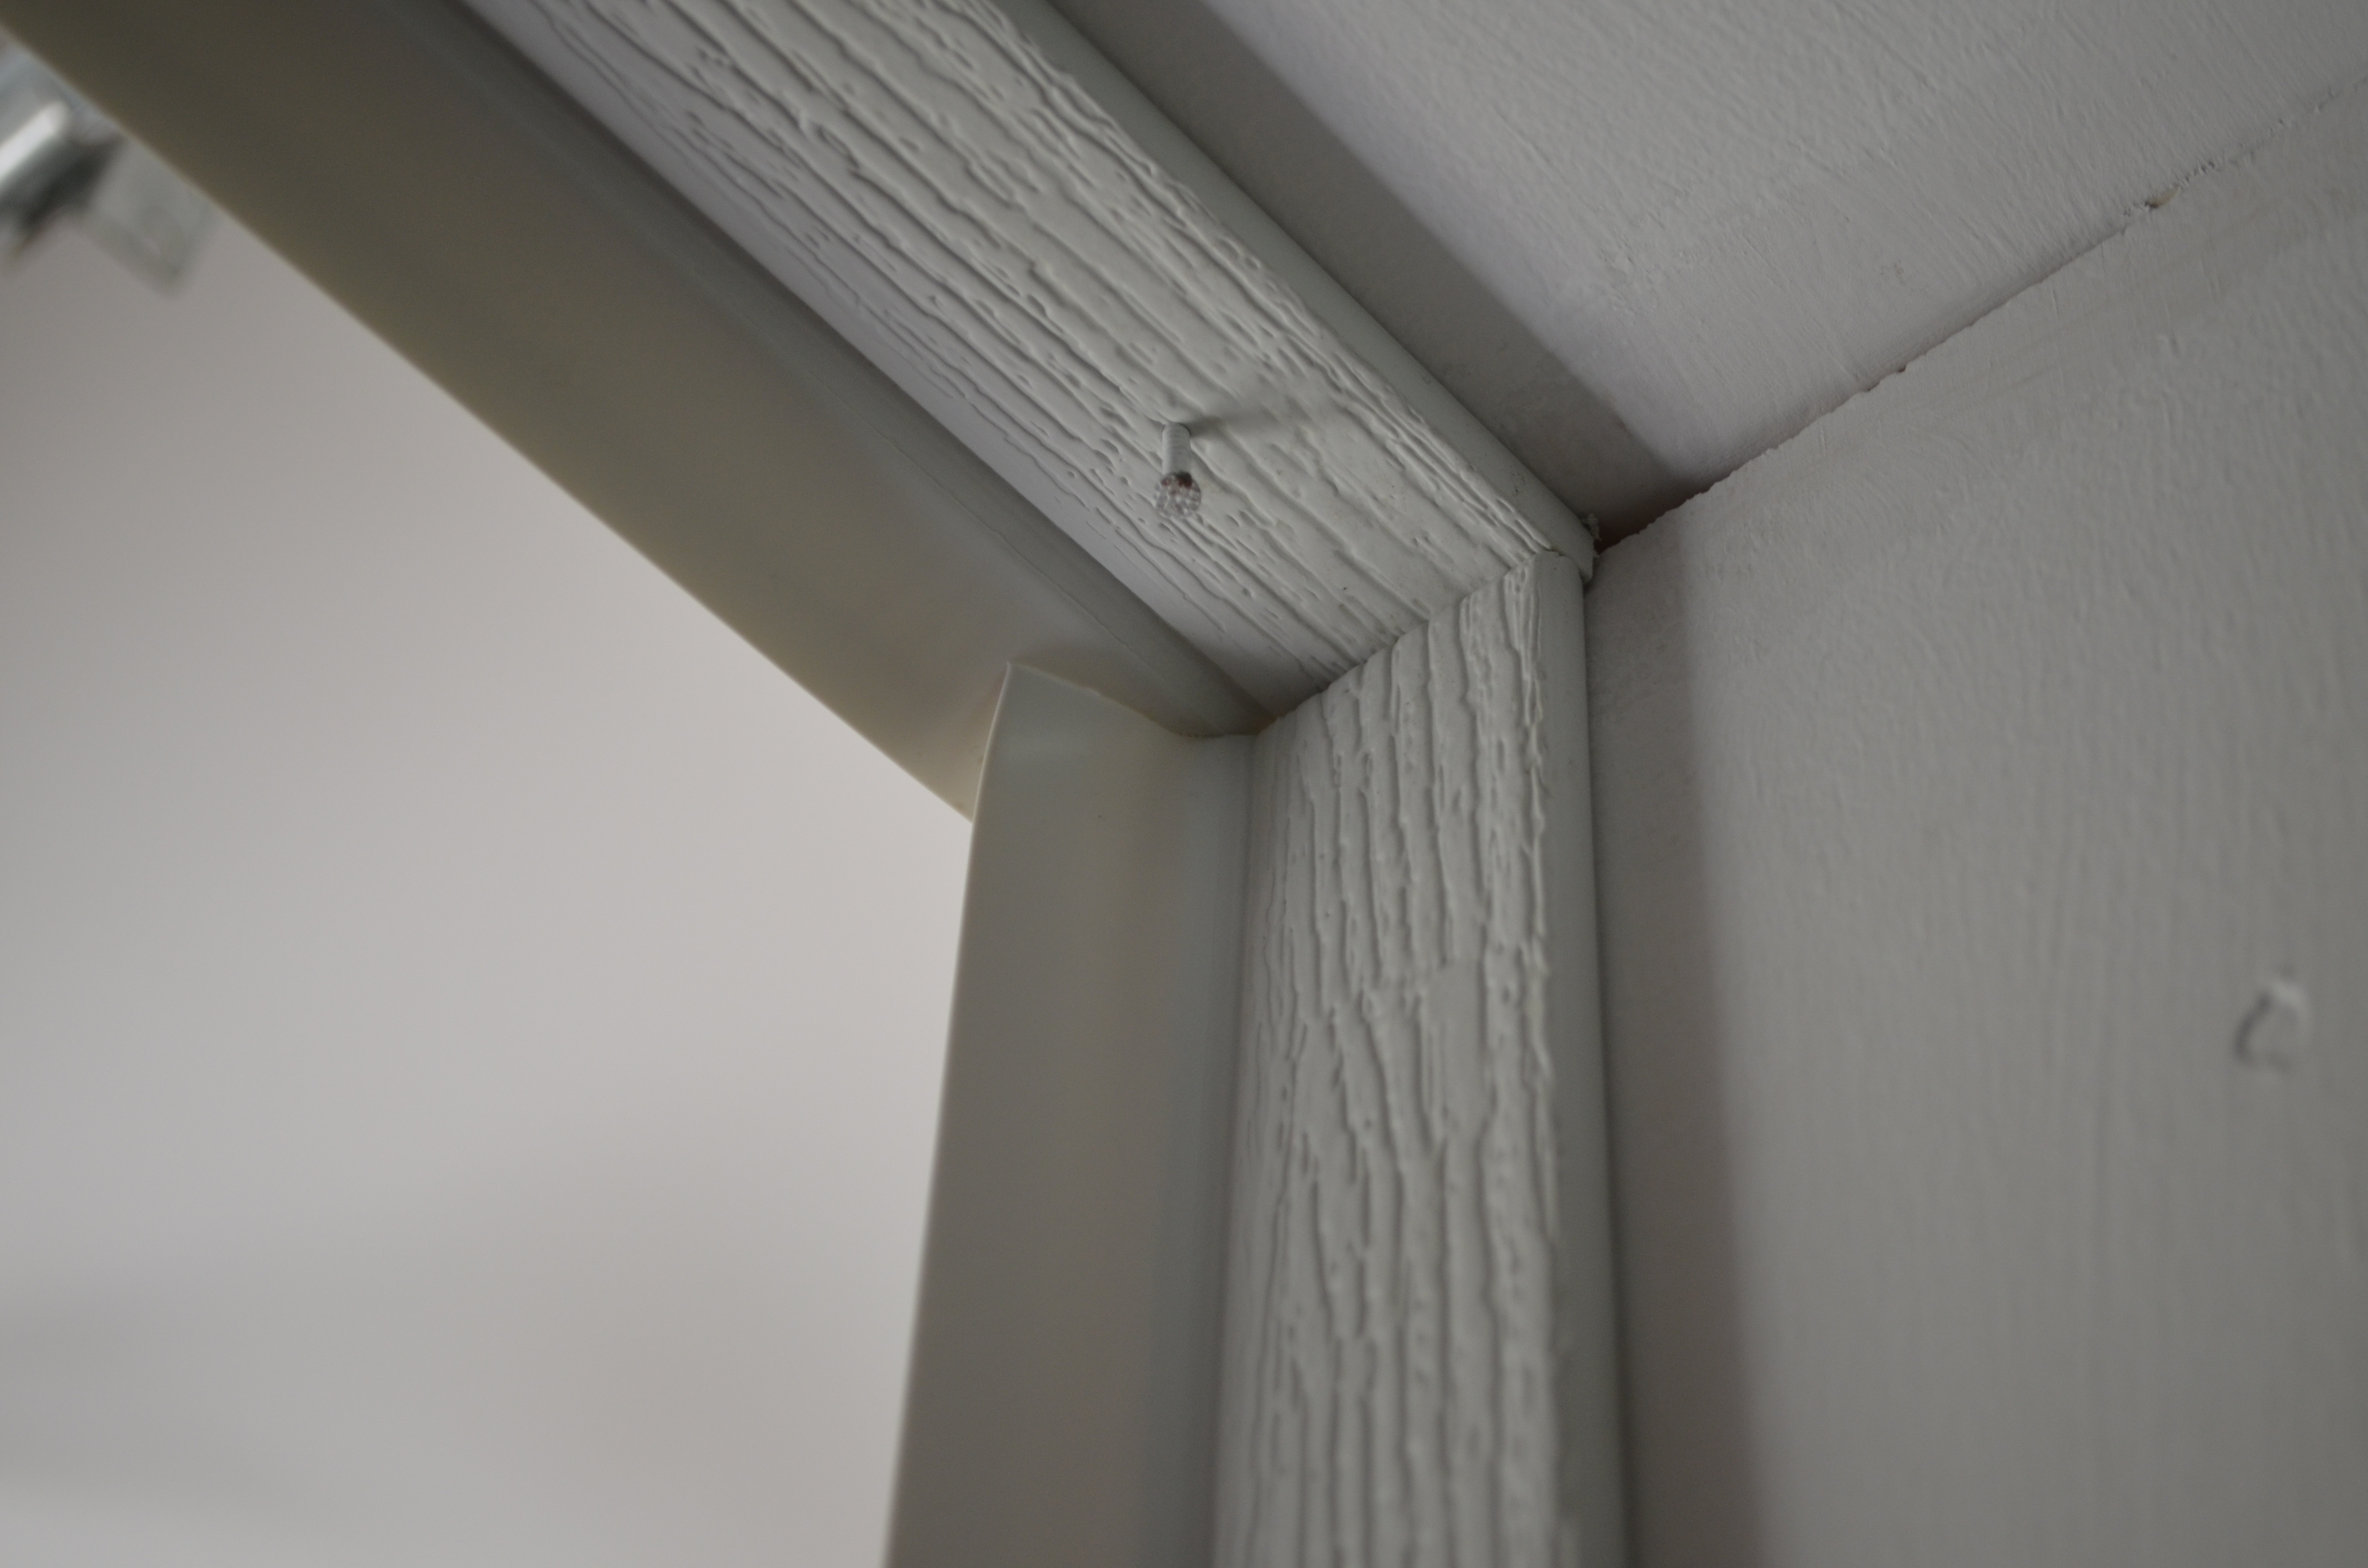
Visual Inspection
Sometimes, the leaks are quite obvious, you know? Just take a good look at your door from both the inside and the outside. Are there any visible gaps between the door and the frame? Can you see light coming through from the other side when the door is closed? Look at the condition of any existing weather stripping; is it cracked, torn, or flattened?
Also, check the threshold at the bottom of the door. Is it worn down or uneven? Are there gaps between the threshold and the floor? A thorough visual inspection can often reveal a lot about where your door needs some attention. It is a good first step before you even pick up any tools, really.
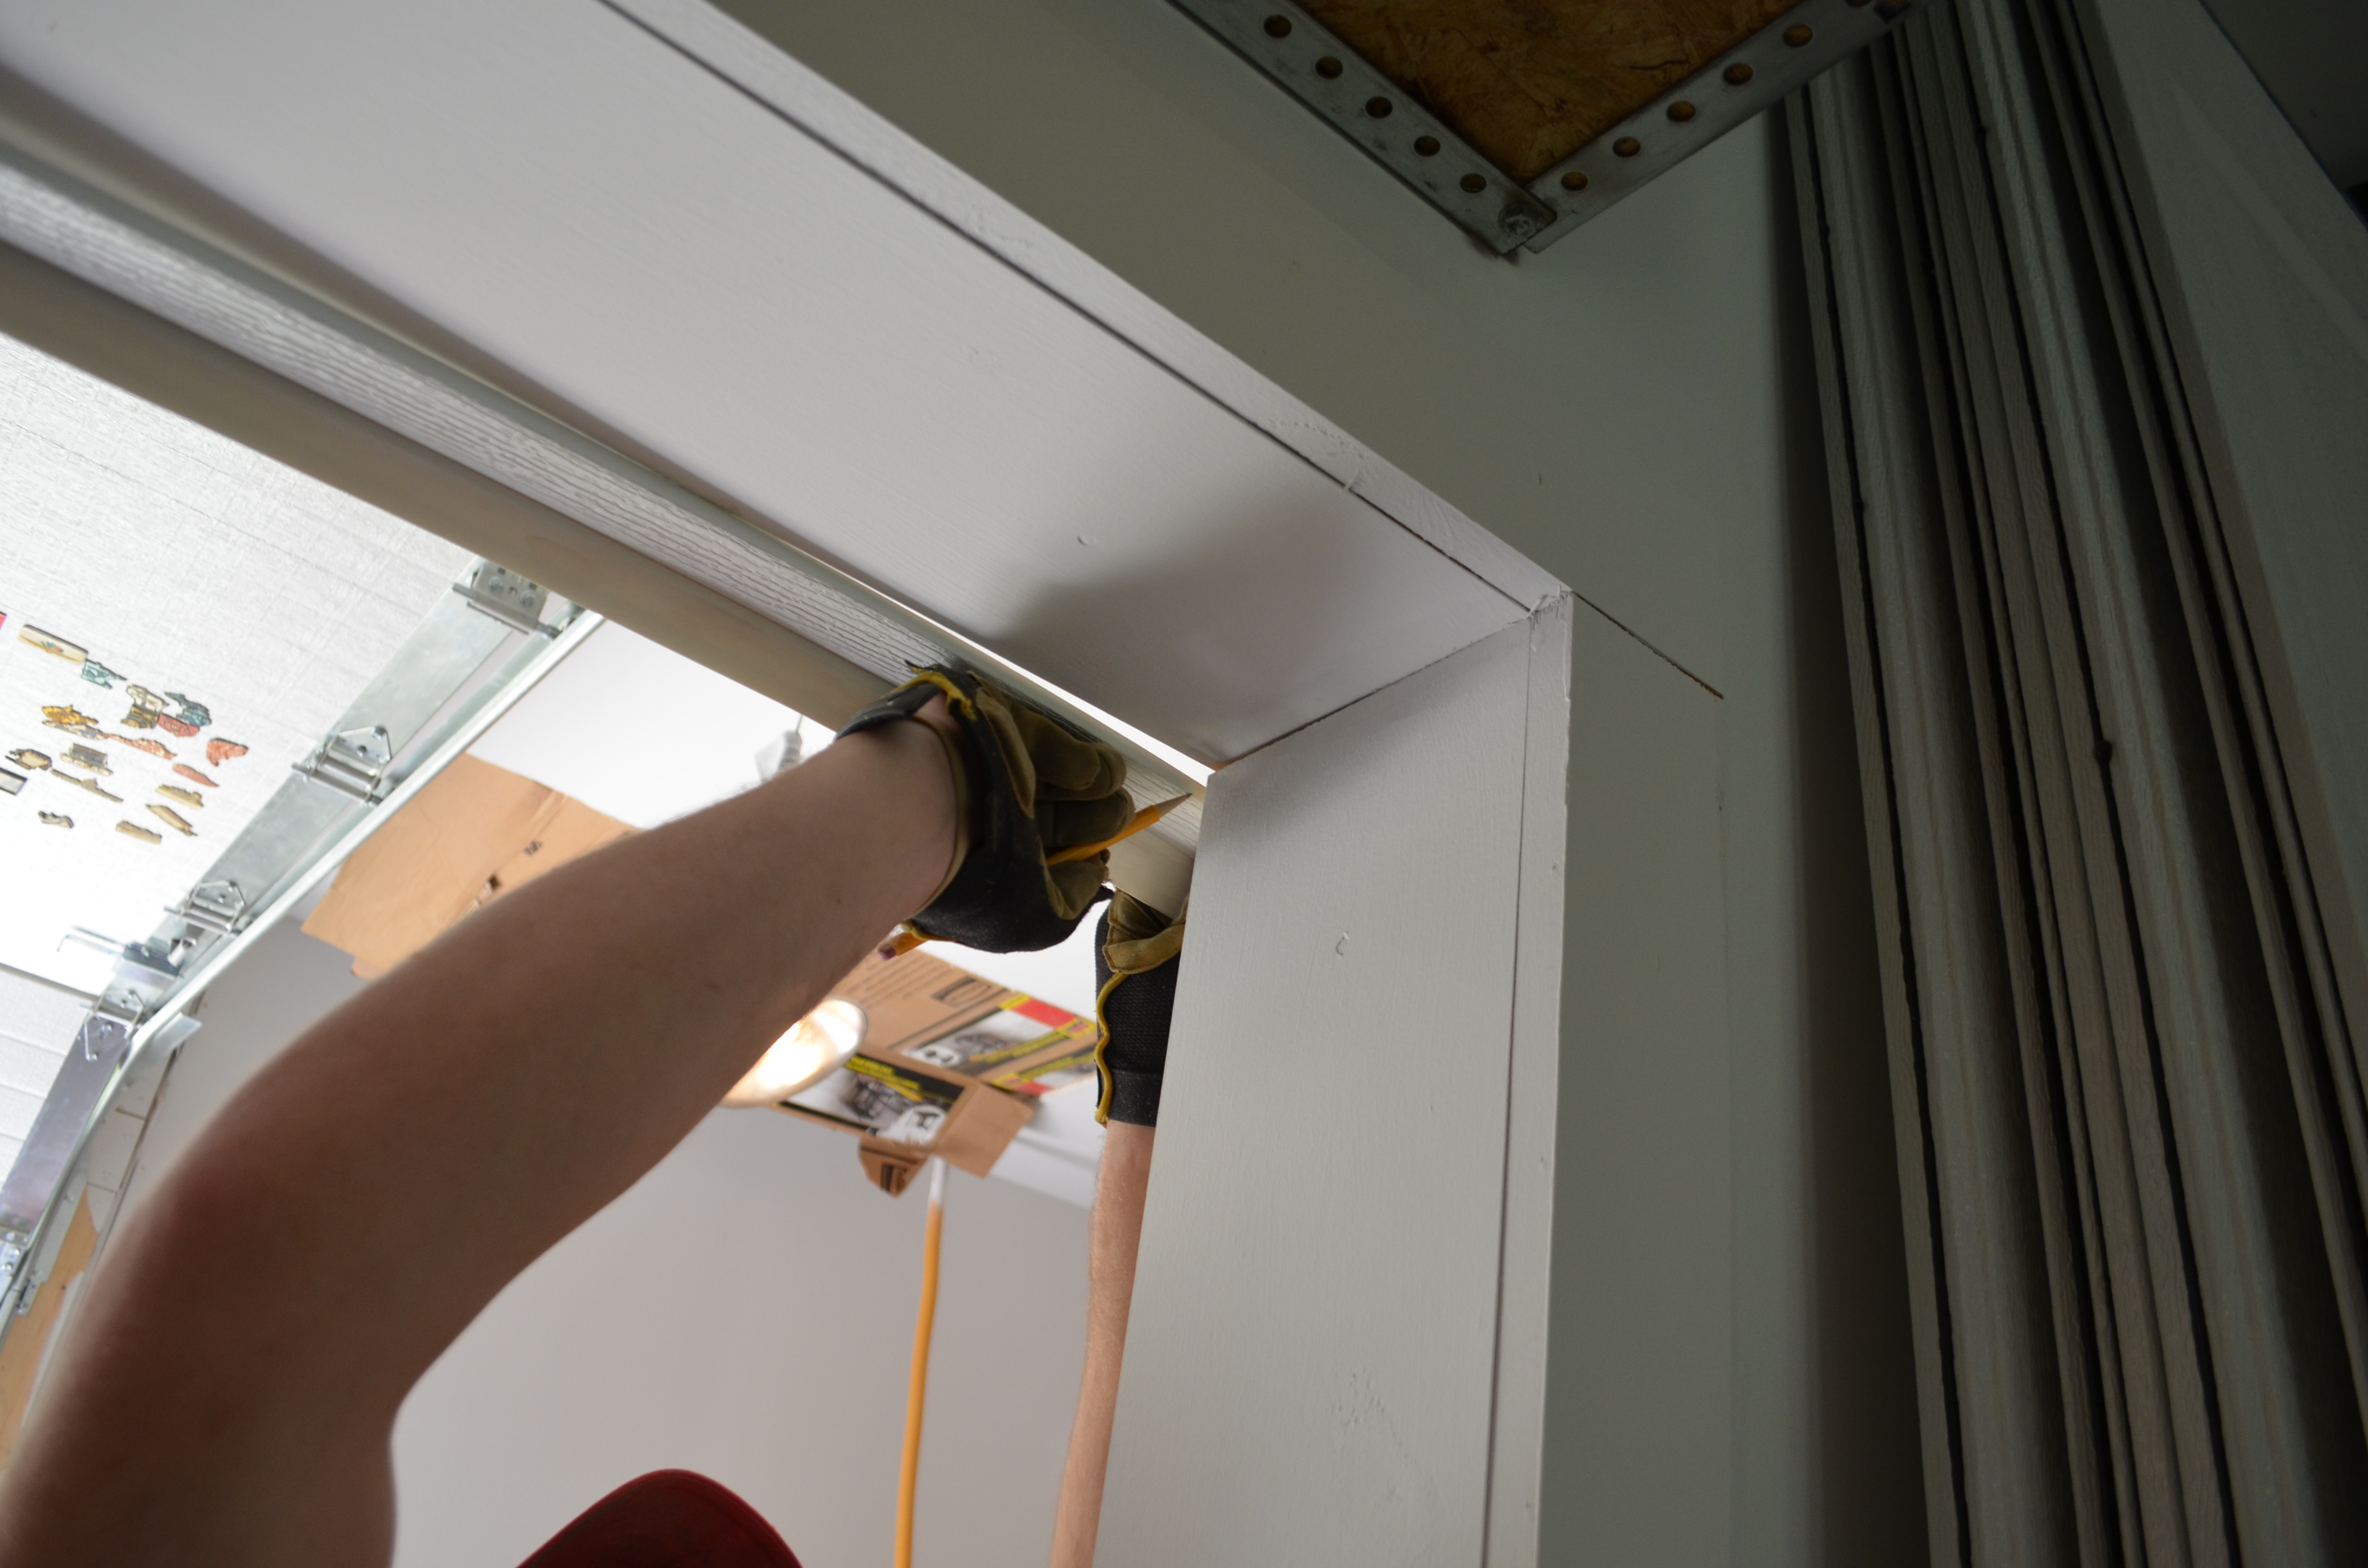
Step-by-Step Guide to Applying Weather Stripping to Door
Once you have identified the leaky spots and chosen your weather stripping, it is time to get to work. Applying weather stripping to door openings is a straightforward process, but taking your time and being precise will ensure the best results. We will go through each step, making sure you feel confident in what you are doing.
Clean the Surface
This first step is super important, honestly. For any adhesive weather stripping to stick well and last, the surface it is going onto needs to be clean and dry. Use a rag dampened with a mild soap and water solution, or rubbing alcohol, to wipe down the door frame and the edges of the door where the weather stripping will go. Get rid of any dirt, dust, grease, or old adhesive residue.
Let the surface dry completely before moving on. If there is any moisture, the adhesive might not bond properly, and your weather stripping could peel off prematurely. This simple cleaning step, it actually makes a huge difference in how well your weather stripping performs over time, you know?
Measure and Cut
With your measuring tape, carefully measure the lengths of the door frame where you will be applying the weather stripping. This usually means the top (head jamb) and both sides (side jambs). For door sweeps or shoes, measure the width of the door itself. It is usually a good idea to measure twice and cut once, just to be sure.
Once you have your measurements, use your scissors or utility knife to cut the weather stripping to the correct lengths. If you are using a utility knife, be careful and cut on a protected surface. For V-strip or foam tape, you can usually cut them with regular scissors. Make sure your cuts are clean and straight for a neat finish.
Apply the Stripping
This is where the magic happens. If you are using self-adhesive weather stripping (like foam tape or V-strip), peel off a few inches of the backing at a time. Start at one end of the section you are working on, carefully aligning the stripping along the edge of the door frame or door. Press it firmly into place as you go, slowly peeling off more of the backing.
Try to apply it smoothly, without stretching it, as stretching can cause it to shrink back later. If you are using a type that requires nails or staples (like felt or some tubular types), position it correctly and then secure it every few inches. Make sure it is snug but not so tight that it interferes with the door closing. It is a bit of a delicate touch, you know, finding that perfect balance.
Install Door Sweeps and Shoes
For door sweeps or door shoes, you will typically need to screw them into the bottom of the door. Hold the sweep or shoe against the bottom of the door, making sure it makes good contact with the threshold without dragging too much. Mark the screw holes with a pencil. You might want to pre-drill small pilot holes, especially if your door is solid wood, to prevent splitting.
Then, attach the sweep or shoe using the screws provided or appropriate screws you have on hand. Test the door to make sure it opens and closes smoothly. You might need to adjust the height of the sweep or shoe slightly to get the perfect seal. It is often a process of small adjustments until it feels just right, you see.
Test Your Work
After you have finished applying weather stripping to door openings, it is time to test your efforts. Close the door and perform the dollar bill test again, or the smoke test. You should find that the dollar bill is now held much more securely, or that the smoke no longer wavers near the sealed areas. Also, just feel for drafts with your hand. You should notice a significant reduction, or even a complete absence, of cold air sneaking in.
Open and close the door a few times to make sure it operates smoothly and does not stick or drag. If it feels too tight, you might need to adjust the weather stripping slightly, perhaps by repositioning it or trimming a tiny bit off if it is too thick. This final check is very important to ensure both comfort and proper door function, you know.
Troubleshooting Common Issues
Even with careful attention, sometimes things do not go exactly as planned when you are applying weather stripping to door frames. Do not worry, though; most common issues have pretty simple fixes. It is all part of the DIY experience, really, learning to adapt and solve little problems as they come up.
Stripping Won't Stick
If your adhesive weather stripping is peeling off or just not sticking well, the most common reason is that the surface was not clean or dry enough. Go back and thoroughly clean the area with rubbing alcohol, which does a great job of removing residues. Make sure it is completely dry before trying again.
Another reason could be that the temperature is too cold for the adhesive to bond properly. Most adhesives work best in moderate temperatures, so if it is freezing outside, you might want to wait for a warmer day, or warm up the room a bit. You could also try using a stronger adhesive spray if the original one is just not holding, but be careful not to make a mess.
Door is Hard to Close
If your door is suddenly difficult to

Detail Author:
- Name : Thelma Bernhard
- Username : salma.renner
- Email : sauer.maybelle@hotmail.com
- Birthdate : 1996-11-29
- Address : 73153 Jenkins Falls Gutkowskiport, PA 81596
- Phone : +1 (740) 534-2107
- Company : Fadel, Auer and Hoppe
- Job : Mechanical Inspector
- Bio : Doloremque quia numquam alias reprehenderit. Autem tempora perspiciatis veritatis aut ipsa. Eum rem laborum assumenda quo similique tempora modi.
Socials
facebook:
- url : https://facebook.com/beahan1976
- username : beahan1976
- bio : Occaecati vel deserunt error pariatur amet animi aut.
- followers : 1048
- following : 1981
instagram:
- url : https://instagram.com/beahan1998
- username : beahan1998
- bio : Quia et voluptatum odio. Voluptatem at et quidem alias sit maiores. Ipsa quidem placeat accusamus.
- followers : 750
- following : 1976
tiktok:
- url : https://tiktok.com/@chelseybeahan
- username : chelseybeahan
- bio : Accusamus ullam quos molestias est eligendi maiores ducimus ad.
- followers : 2151
- following : 1701
twitter:
- url : https://twitter.com/chelseybeahan
- username : chelseybeahan
- bio : Consequatur sed sit dicta et repellendus dolores. Qui enim excepturi soluta. Qui tempore maxime et nihil ex qui.
- followers : 3723
- following : 2050
